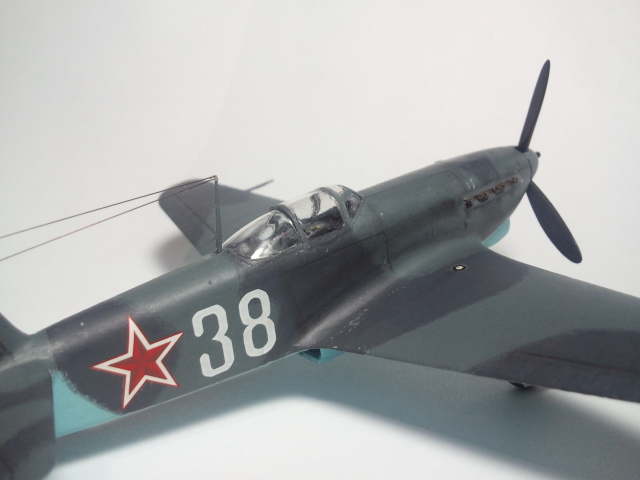
Stippling on a Dakoplast Yak-9
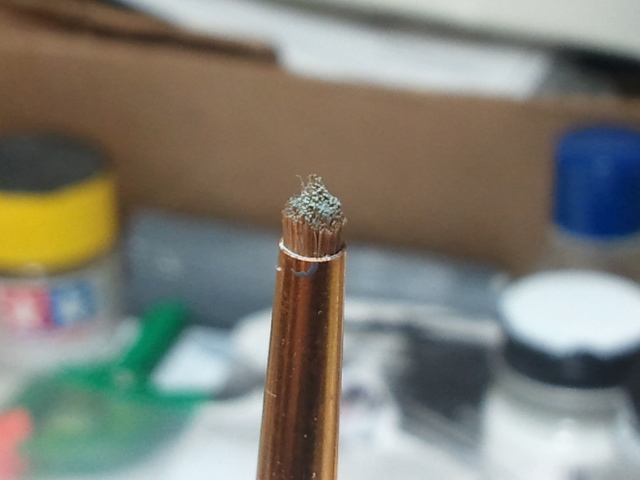
This is my “stippling” brush. It was made from a Humbrol brush that cost me a few dollars and turned out to be one of the worst brushes I’ve ever bought. However, since I paid for it and it was relatively new, I decided to try to make a “stub” brush out of it. I accidentally made it into a pointy shape with longer bristles in the middle.
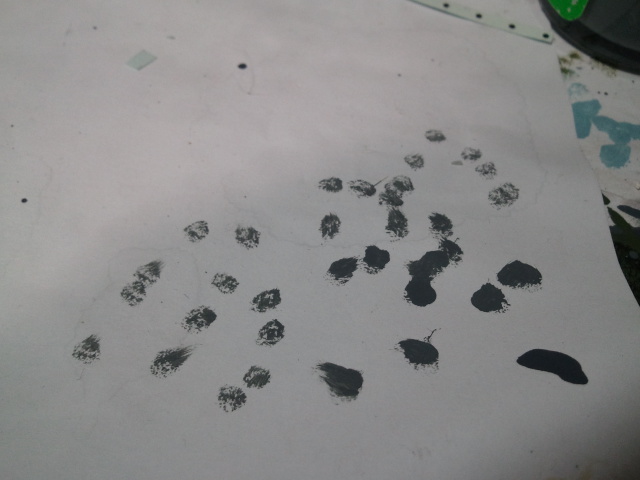
This turned out to be a stroke of luck. The peculiar way the brush worked when I tried to apply charcoal pencil powder gave me an idea. I dipped the brush in some paint and started to “stipple” a sheet of ordinary paper. I ended up with some very interesting splotches.
From there I developed a technique for “blurring” the edges of camouflage patterns, so that the result looks as if it were sprayed. I’ll use some photos I took while building th 1/72 Dakoplast Yak-9 to illustrate the method.
Here’s the model with the two colors of gray painted on but it looks wrong because the Soviets liked to spray the paint on these aircraft “free-hand” so the demarcation lines between the paint colors should have a “feathered” appearance. This doesn’t.
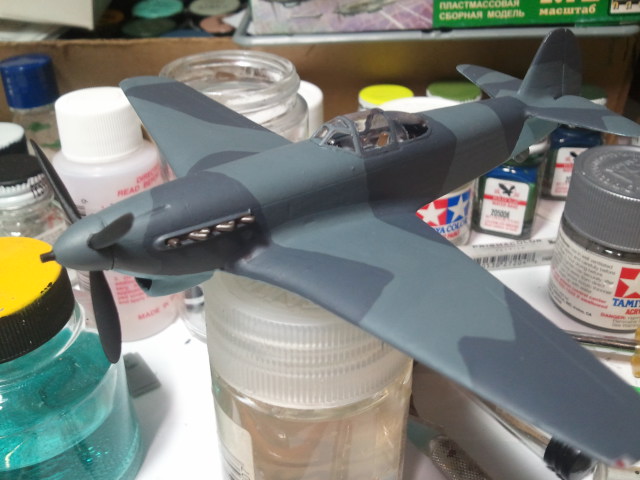
The colors, by the way, were mixed from Model Master Acryl to match the authentic colors, as near as I can tell. The dark gray is very dark, and the lighter gray has a greenish cast. For more information on this, please consult my source, here:
Massimo Tessitori’s Soviet Colors Site
I put a drop of paint on the surface of the workbench, then add a little “retarder” to slow down the drying of the paint in the brush. Then I dab the brush against the bench top (or another flat, white, hard surface) until it “looks about right.” Then I proceed to start stippling along the color line.
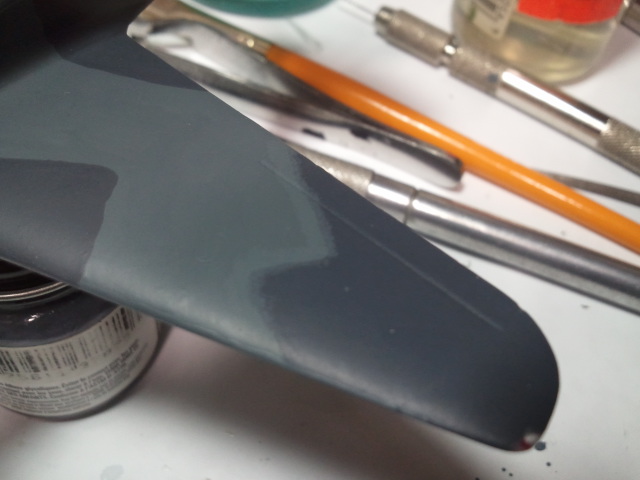
Flat paint always looks lighter when wet. You can see that the stippling is done here on the right, and hasn’t yet been done on the left. I carefully dab dab dab around all the demarcation lines. I stipple the lighter color over the darker one. It seems to work better this way.
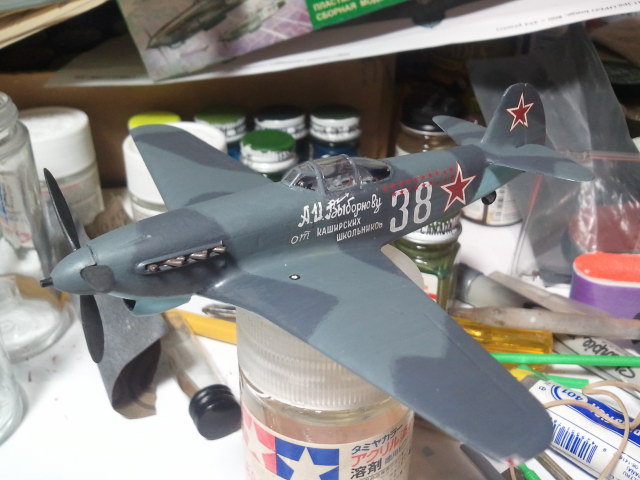
Once the entire model is done, I let it dry to make sure that the colors match and everything is working properly. Then I do my usual thing, which is brushing on several thin coats of Future, letting it dry, then applying decals, letting them dry, then applying Micro Sol to the decals and letting that dry, then applying the mix of Tamiya Flat Base and Future. This is the result.
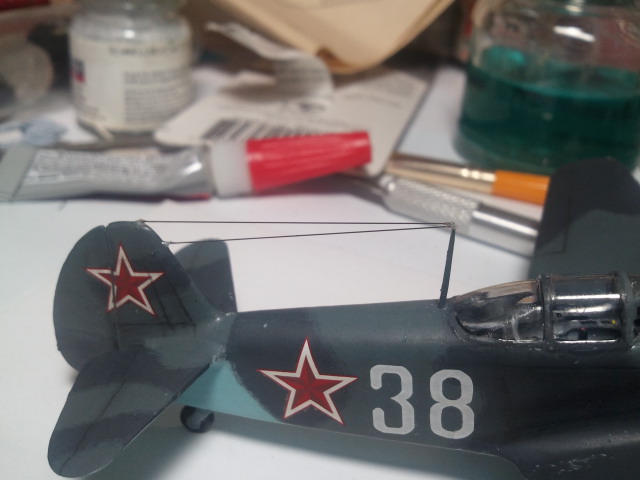
I added some radio antennae from wire.
I did some post-shading using ground charcoal and drew in panel lines with a pencil.
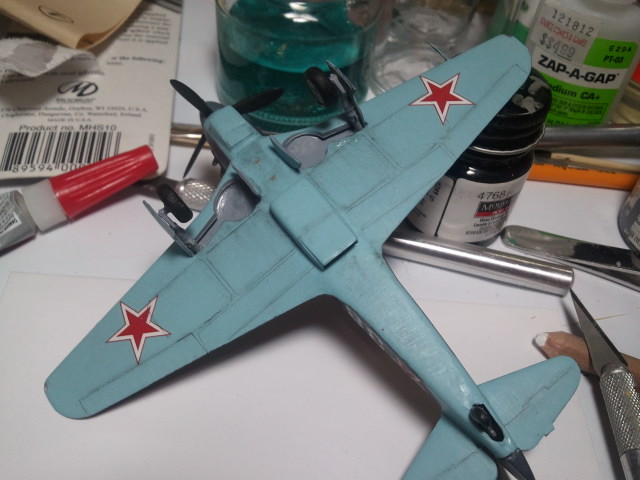
The final product looks like it was airbrushed. Another boogie man bites the dust.
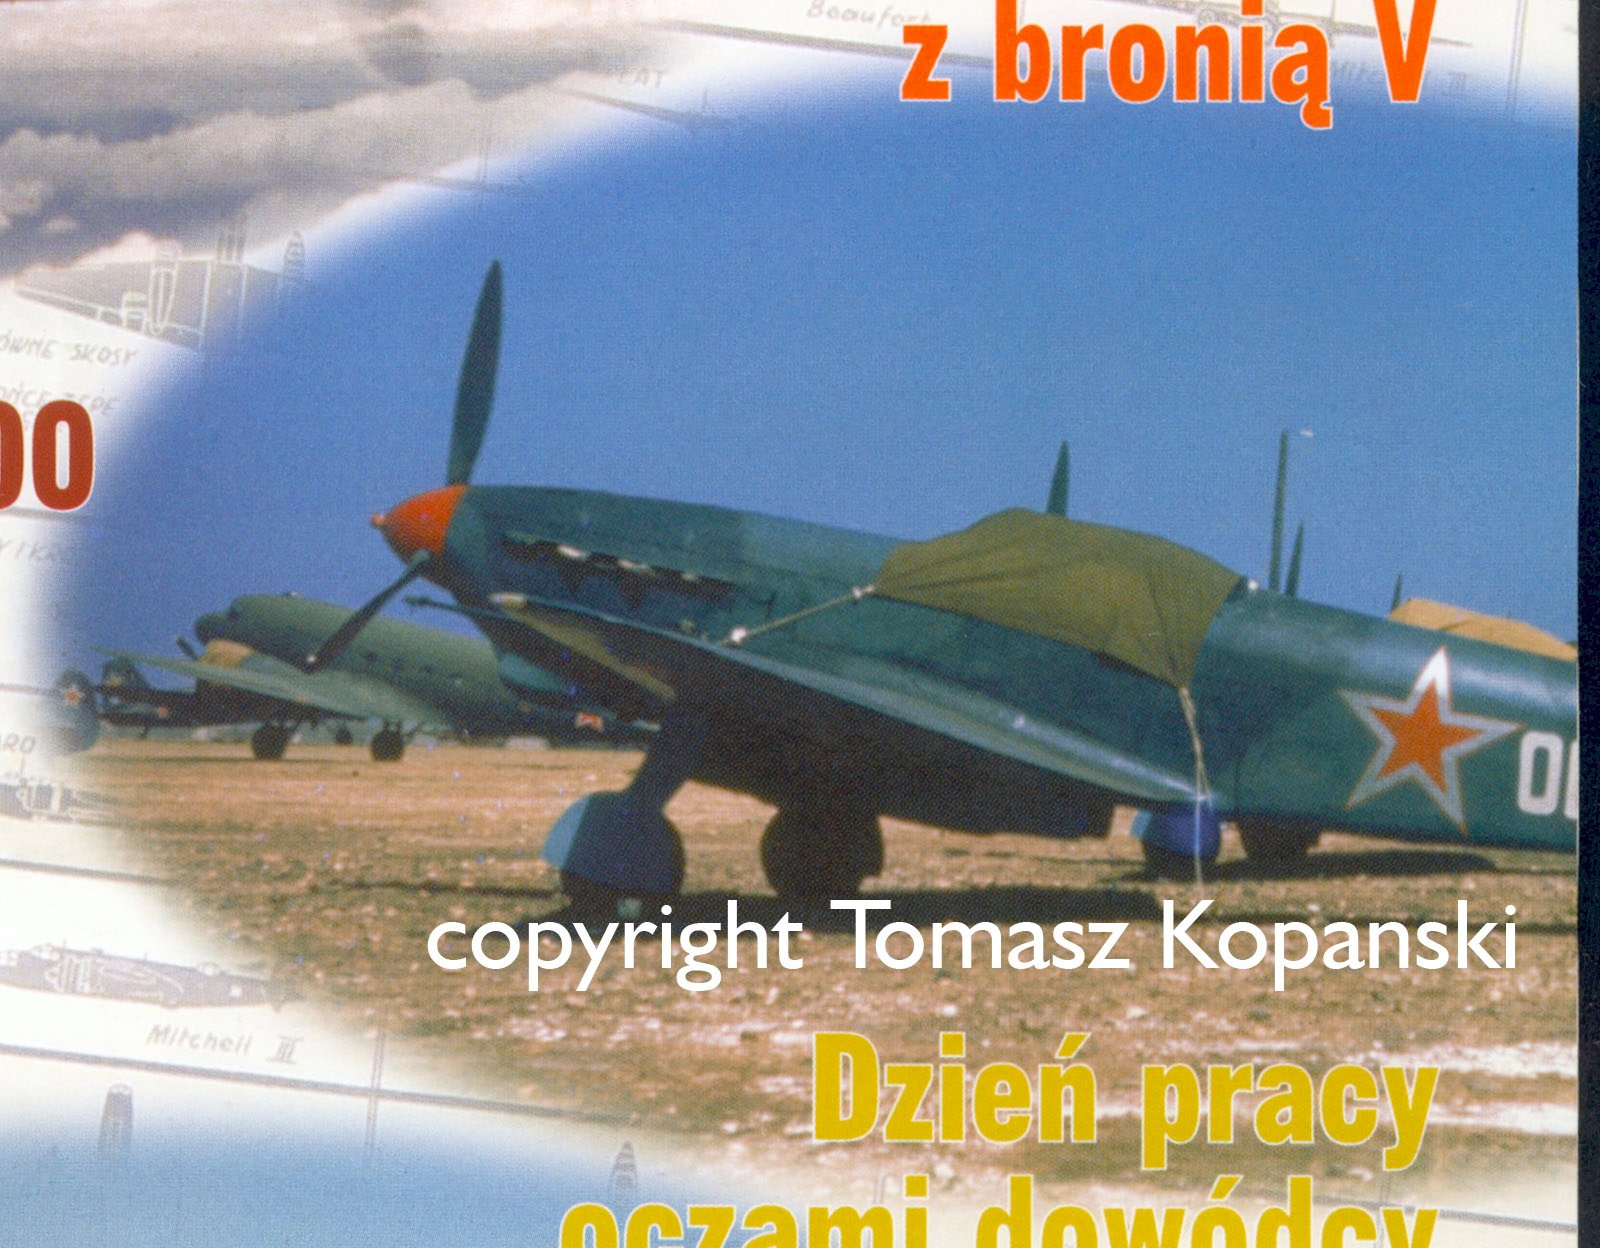
Here’s a color photo of a Soviet Yak during World War II.