Bader: Hurricane Part 8
Douglas Bader was a good example of what can go wrong when you have a guy in charge who is charismatic and aggressive. Bader wanted the RAF to fight the Battle of Britain differently, and he took his case to the very top, using his immense fame and status to gain the ear of Winston Churchill, who listened carefully to what he had to say.
Bader was a student of all things related to military aviation, and he believed that at least some of the rules handed down over the centuries for fighting a war should apply to fighting it in the air. In particular, he felt strongly that, in war, an army (or air force) should concentrate power at a decisive point and not squander resources by sending small forces up against larger ones, or sending weak forces to be followed by stronger ones, if needed. Such tactics usually fail, because, in war, a decisive battle often occurs when it is least expected, and so a general must be, to some extent, a gambler. He or she must send a massive force into battle and hope for the best, not fuss around trying for “perfection” because sending a force to “test” the enemy is a losing strategy. The test force will be lost, the enemy will be encouraged, and reinforcements will find the high ground in the enemy’s hands.
All very true. Most of the time. But at the beginning of the Battle of Britain, the RAF was depending upon a brand new technology, so advanced as to be science fiction just a few years earlier. RADAR had changed the rules. To fight and win against the numerically superior Luftwaffe, the RAF needed RADAR to be able to watch the enemy as they approached, and then send a “just in time” packet of interceptors to do damage in the most efficient way possible. With RADAR, the old rules went out the window.
But not for Bader. He insisted that the old rules were still valid. Like a battleship admiral failing to understand the airplane, Bader failed to understand RADAR. Unfortunately, he dragged the RAF after him, for a while, anyway. Of course, his basic idea was sound, as far as it went. He was right–up to a point. But as far as how RAF interceptors should be employed during the Battle of Britain, he was wrong.
My source for this pithy observation is a book entitled Fighter by Len Deighton. I recommend it highly.
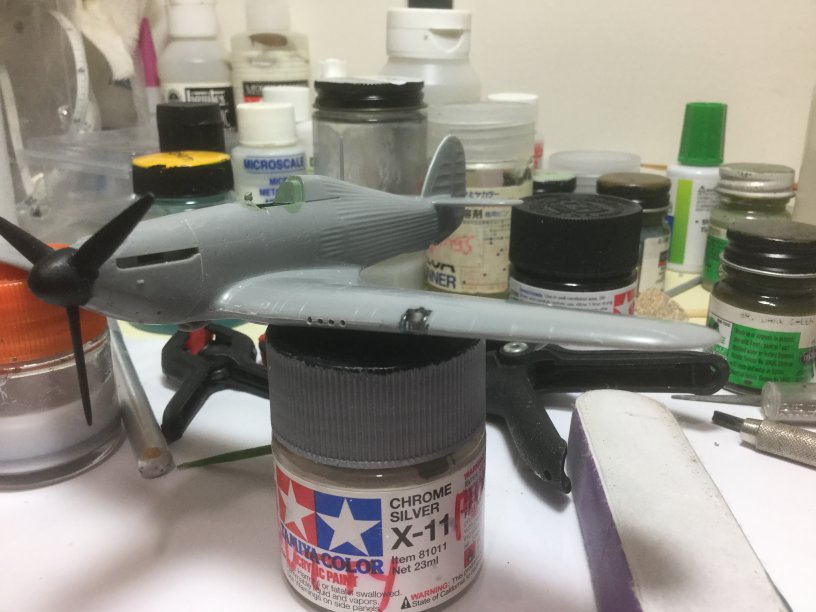
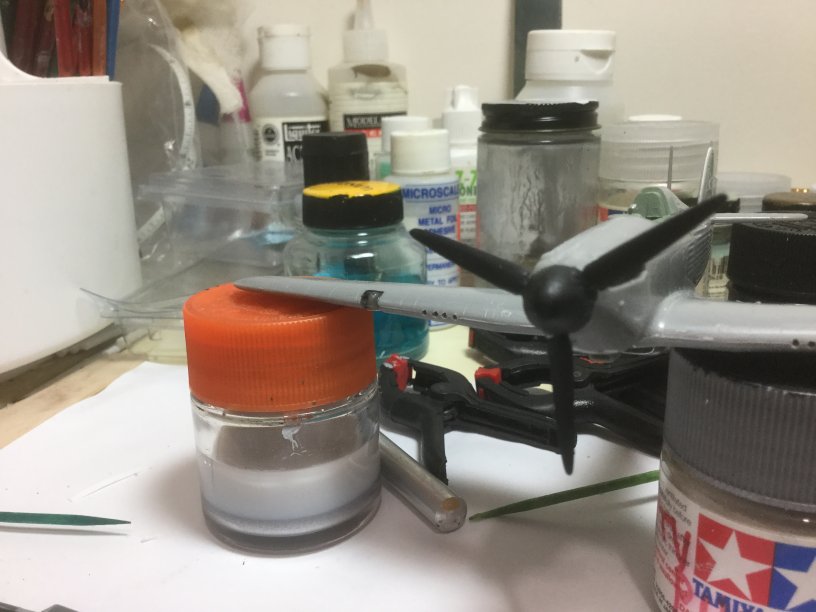
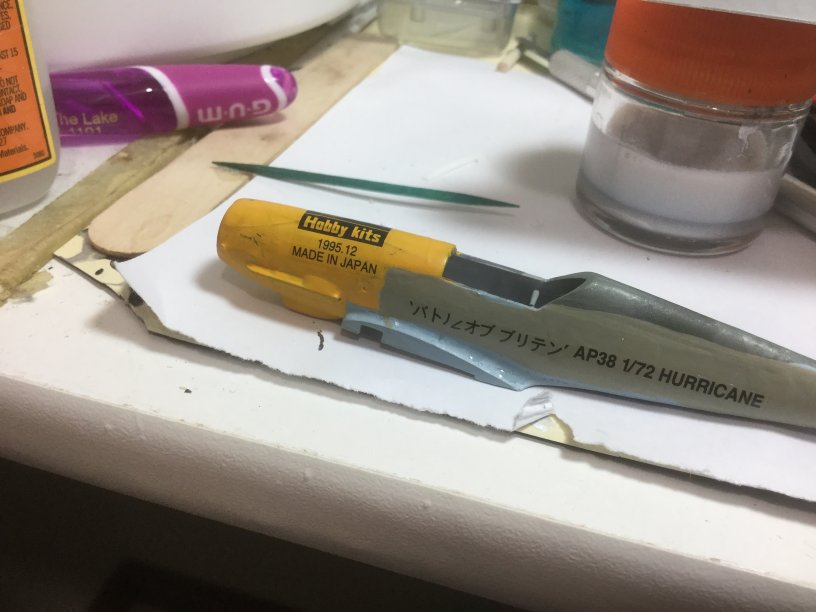
I’ve completed the basic assembly of the Hasegawa Mk.Ib (there was no Mk.Ib) The model which is what it is not and is not what it is (apologies to Sartre) does require some care during assembly. When a kit features this type of fit, you can’t just shake the box and expect it to go together. No. You can’t. After I have the nose halves and the wing tops attached and the glue has cured a bit, it’s time to assemble the rest of the airframe. I put some decal seat belts on the seat for all the good it does, and then I apply the Micro Weld with a small brush to the mating surfaces. Two coats. Then, quick like a bunny, assemble the fuselage halves and the wing bottom, trapping the propeller.
To ensure that the prop will spin, I put a little Vaseline on there with the tip of a toothpick. If you don’t put the petrolatum on there, the liquid cement will flow in there and stop the prop from turning. The petrolatum acts as a “block” to keep the cement out. A little dab’ll do ya.
Then CLAMPS are used to make sure it all sets up properly. You need the clamps. A bag of clamps is cheap at Harbor Freight or wherever you buy cheap, erm, inexpensive tools.
After the glue dries overnight, remove the clamps. Check the seams. The fuselage will be lovely, and on this kit so were most of the other seams. But check them. Look at the leading edges of the wings and the edges of the tail. Leading edge and aft edge. If sanding is needed, get at it. If filling is needed, I use Vallejo Putty or old-fashioned typewriter correction fluid. Get the cheap stuff at the dollar store. It comes with a brush.

I’ve done enough of these blasted lights to know how they go.
In this case, the opening in the wing is painted black. Then a silver Sharpie is used to “paint” the hole in the back of the clear part. Then the clear part is pressed (it takes muscle) into the opening. A little (very little) liquid cement on a brush will flow into the seam and glue it in place.
I knew those blasted gun ports would be a problem and they were. I managed to drill them out but not really in a straight line. May your efforts go better.
I painted the inside of the wheel wells with Vallejo Metal Color. The advantage to using this stuff is that you can just paint over it with the flat acrylic. Try that with any other shiny aluminum paint. Even with Tamiya’s version the flat paint will “craze.”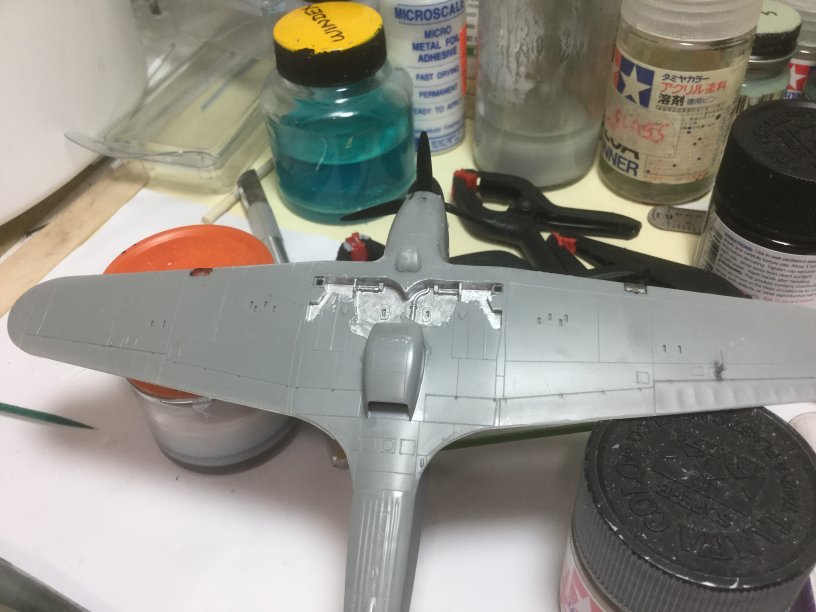
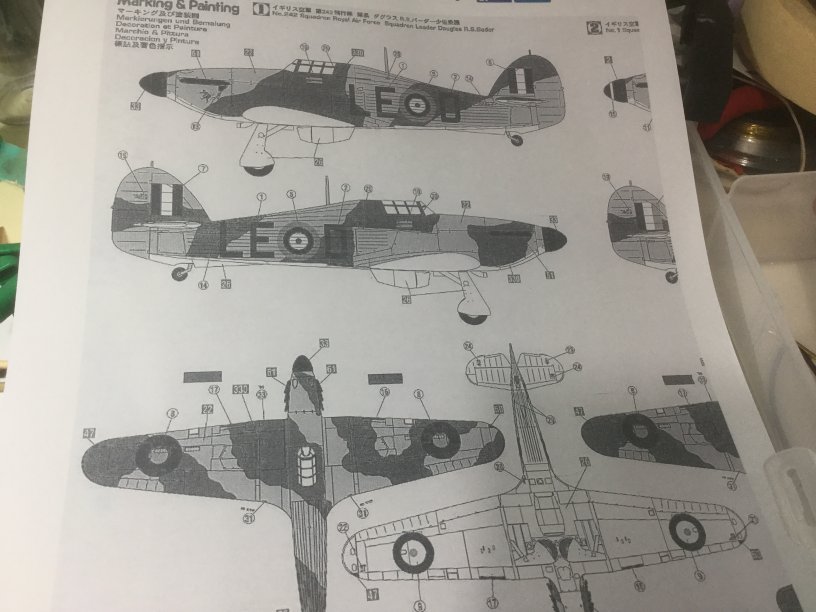
I got a copy of the instructions for the Bader paint job from HERE.
I’m going to use the Hasegawa decals. I can always find something to annoy me at Hyperscale, but nothing boosts my blood pressure as fast as a mutual mastication session concerning “thick” decals in Hasegawa kits. “What do you fellers do about them thick decals?”
“First, I go get a hot bath in epson salts, a soak in some hot water, and then I go back the workbench and use Solvaset and a blowtorch.”
“I soak ’em in Jack Daniels, just like my liver.”
“Don’t use ’em, boy!”
Oh shut up. They work just fine. I did a test to make sure there would be no disintegration.
Hauptmann Kringle gives them one burned-off thumb stump UP!
By the way, Bader’s plane in miniature will get the B scheme. B!
Old copies of Camouflage and Markings be damned.