Brush Painting 101: Lesson 3
So far, we’ve painted some stripes that resemble invasion stripes using only a brush and some strips of painted decal.

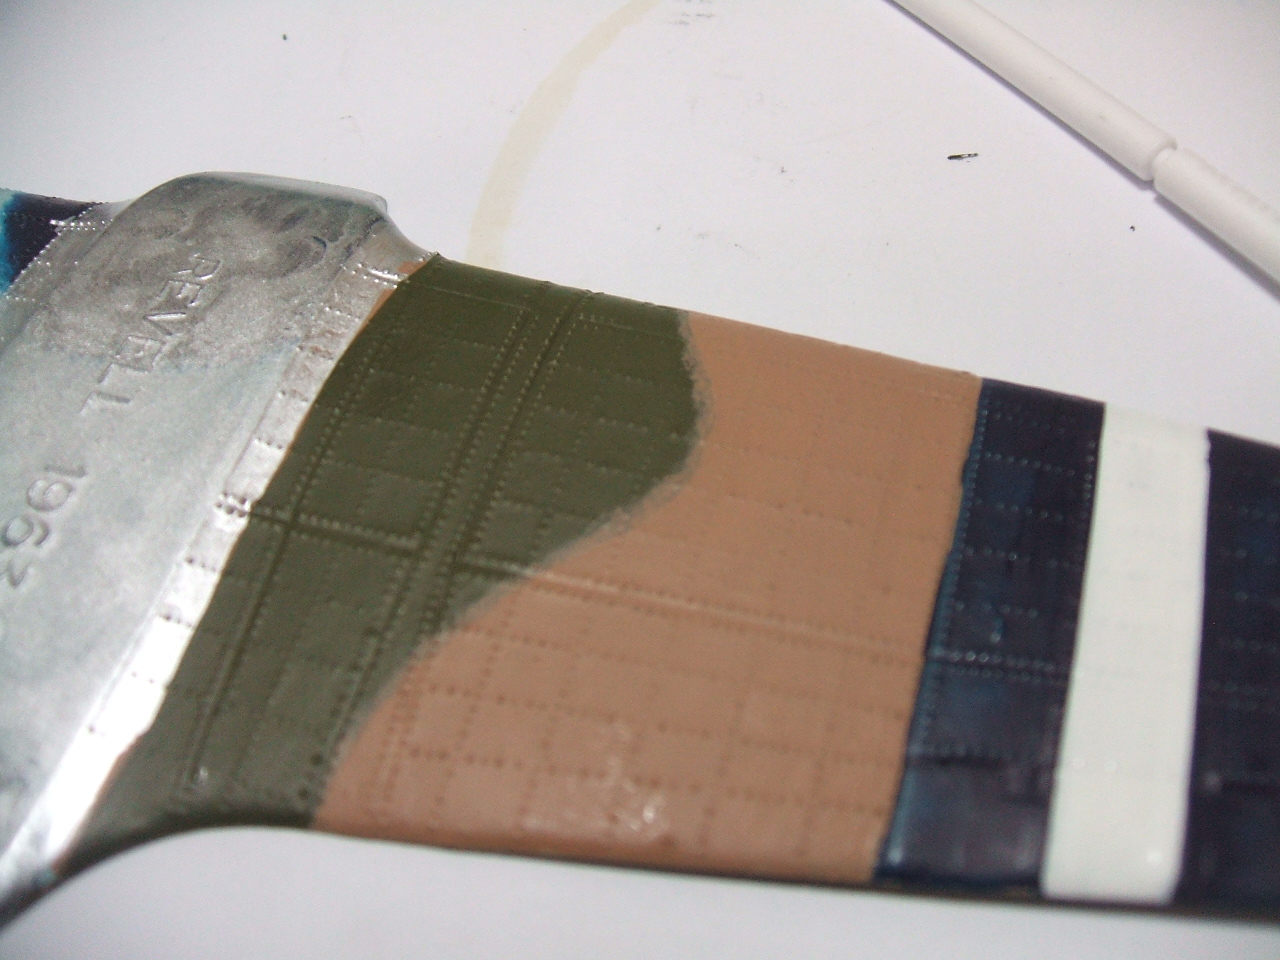
Now we’re going to paint a camouflage pattern and then using a stippling technique to give it a “feathered” edge.
First, I just paint on some Polly Scale U.S. olive drab and sand and let it dry.

Then I get the stippling brush (a cut-down Humbrol No. 4 “Palpo” brush) and dip it into some of the sand color.
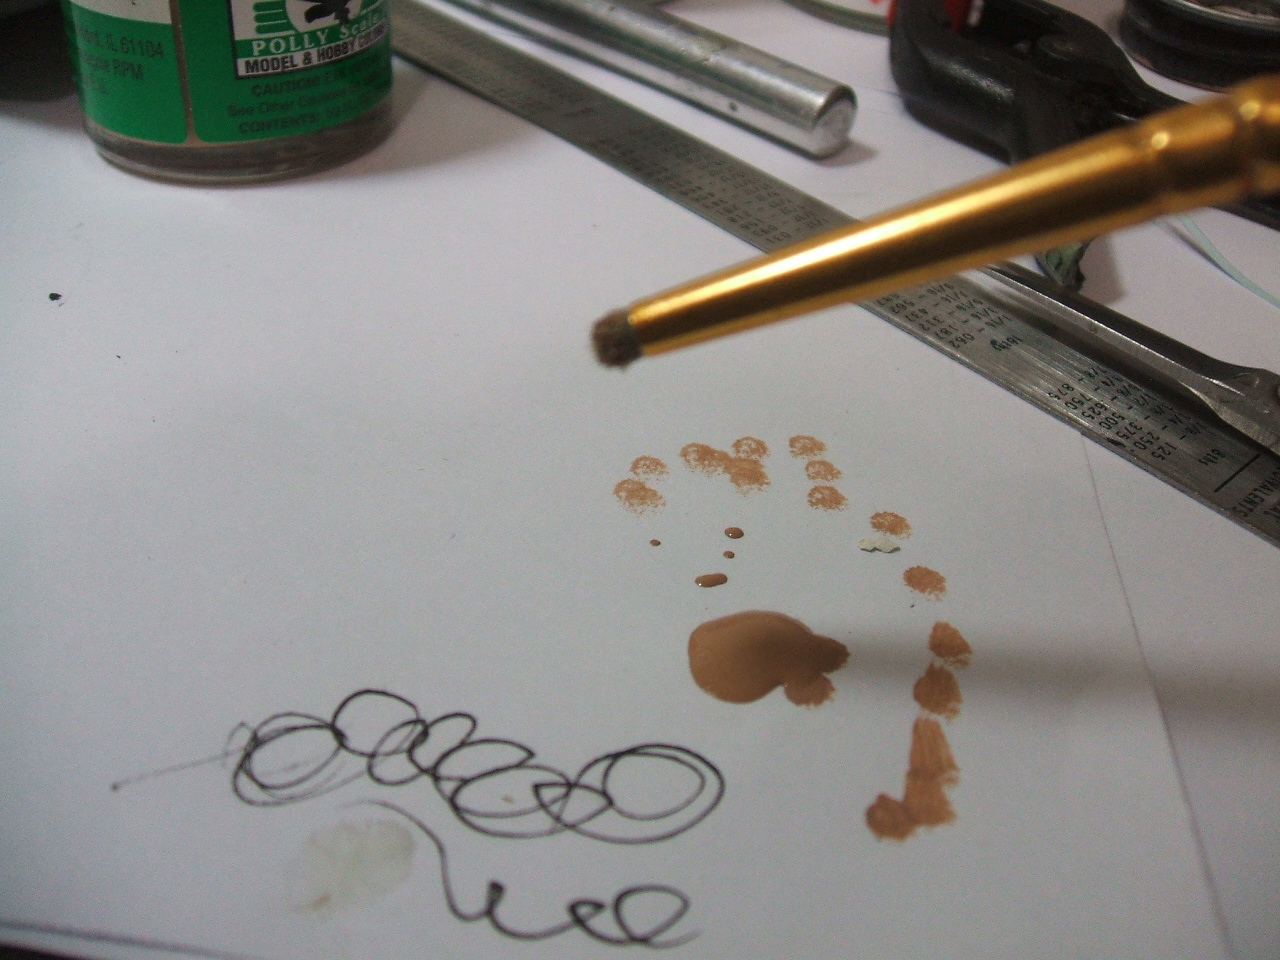
I dab away at the paper until I get the “fuzzy” dots you see here at the top.
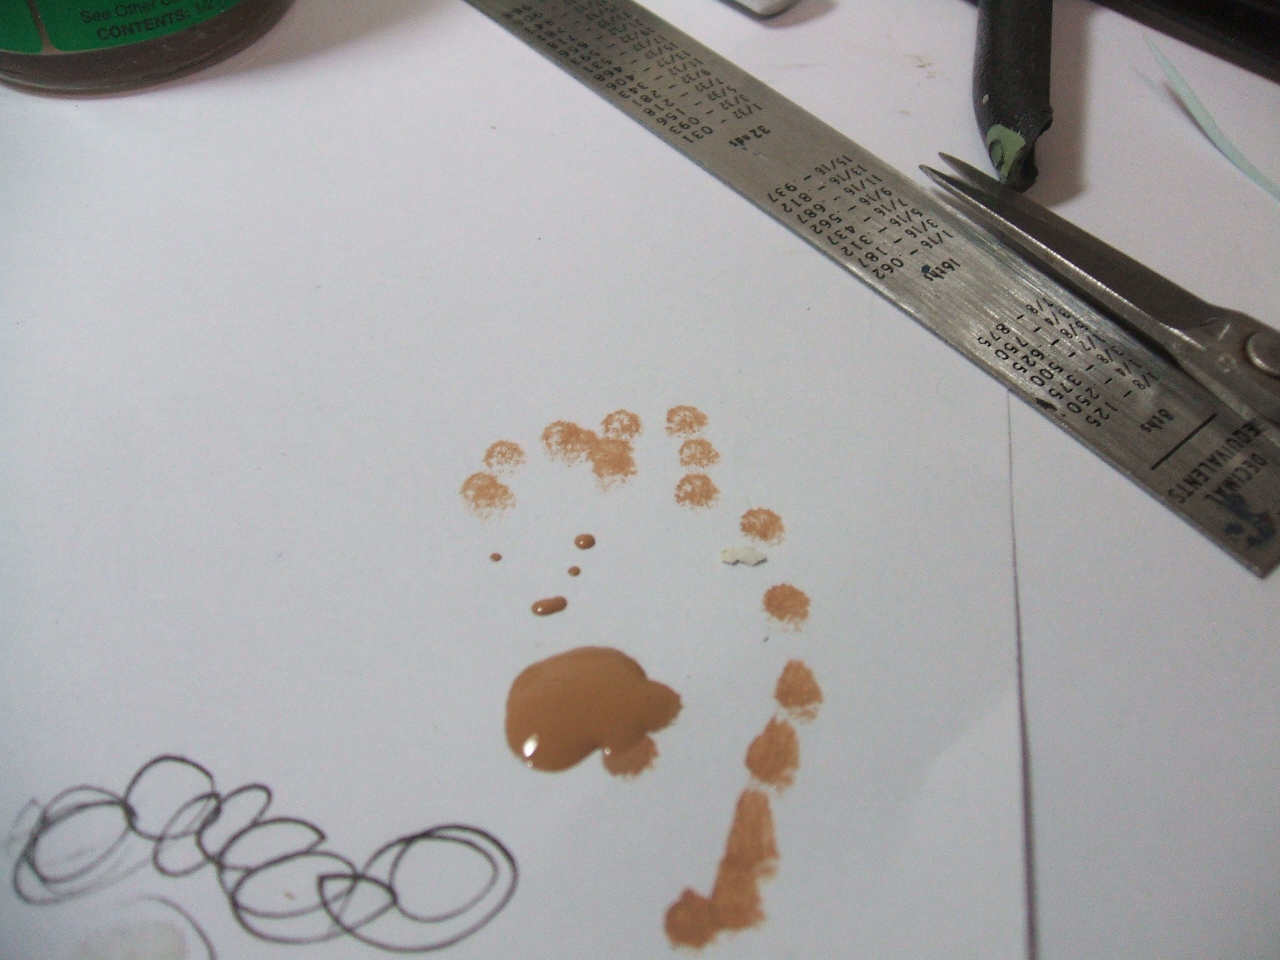
I dab the brush gently long the demarcation, taking care not to apply too much paint, but also watching for when the paint runs out and I need to do another dip and dab.

A beginner is going to want to know what kind of brushes to buy.
I recommend the “Painta” brushes from Revell. They come in a pack of six and you should be able to do just about everything with this set of brushes.
Revell Painta Brushes at Amazon U.S.
In addition to this set, I’d recommend a larger (1/4 inch) camel (squirrel) hair brush. Get this from a Michael’s or Hobby Lobby or Blick’s art supplies. You need this only for applying Future as a clear coat.
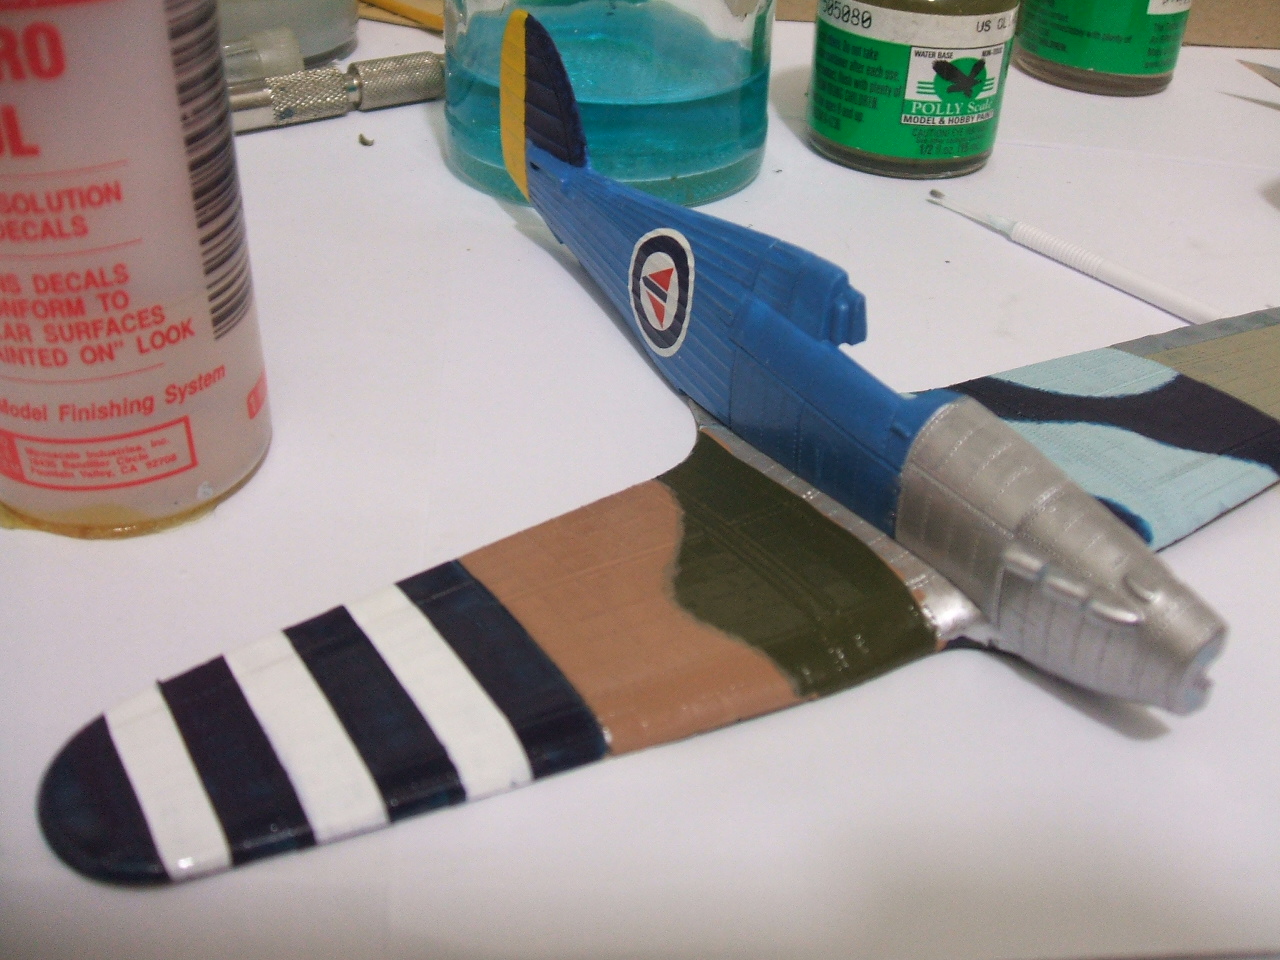
Here’s a shot of my “paint mule” with a wild and wonderful scheme. The result of experimentation, research and development.
Good deal. How about a few words on how you clean your brushes?
How do you keep hairs from curling out and looking like Axl Rose in the Welcome to the Jungle video?
Brush life in my house seems never to exceed about 3 or 4 projects.
Your wish is my command. Today’s blog post will be about brush cleaning.