
Cockfighting 101: P-47N Part 2
I build a lot of 1/72 fighter planes from World War 2 to save space. Builders who finish one model per year could build in 1/32 scale and have plenty of room for ten years or so. But I build a model in a couple of weeks and that rate I’d run out of room in a hurry.
So I’m well aware of the usual routine for a model like this. Anything, no matter how beloved, will become a routine if it is repeated often enough. When you add to that my aversion to building, you get a man who is not really happy until the major parts are assembled and most of the interior work is done (and yes, I like the Hobbyboss kits).
So the first major challenge with this model is to figure out how to get a detailed cockpit into a Hasegawa P-47. Not because I’m one of those “builder” types who insists that all models have to have detailed interiors, but because, in this case, I’m caught in it. I happen to have no less that TWO (potentially) detailed cockpits, one from the Revell kit, and one resin set from the High Planes kit. It would be shame to use neither of them (although I’m tempted). But I figure I should be able to get something worthwhile. I mean, for the love of Pete I have TWO of them!
So the first job is to break the project down into smaller parts. No problem is so difficult that it can’t be solved by breaking it down into smaller problems. In this case, I needed to sort out which cockpit “set” I would be using– the Revell or the High Planes (?) resin. That decision wasn’t easy, but I quickly noticed that the resin set was a sort of “tub” that would fit into the fuselage only if it were just right…and I am not interested in trying to do that. Actually, the whole problem of alignment and fit began to look very, very large as I tried to piece together all the tiny parts and imagine how they would fit. Finally I realized that this problem would, again, have to be broken down further into smaller, easier problems.
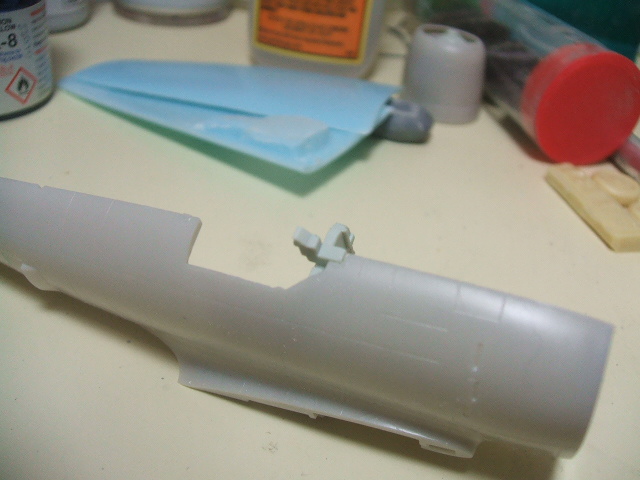
I needed just one certain anchor to build the cockpit around. For that I needed a really good image of a P-47 cockpit and I found one quickly on the internet. Then I took a look at the parts and determined that the resin instrument panel and the gun sight were 1) way too fragile for my tastes, and 2) not connected to anything–they depended on the success of the rest of the resin installation to work. Well, screw that. I decided that the instrument panel of the Revell kit could be used, but it would have to be glued to one fuselage half, and then allowed to dry, before continuing.
Thank God for super glue. I don’t think I’d still be building models if it weren’t for this stuff. I had to modify the Hasegawa fuselage halves by cutting a notch into the front of the cockpit opening. Then the instrument panel goes in and was glued in place using super glue and accelerator. Good stuff, that. I allowed it to dry for about half a second.
Then I had to decide if I wanted to use ANY of the resin tub. I fooled around with it quite a while before discarding it and going back to the Revell floor and aft bulkhead. I chopped off anything from the floor that didn’t look like floor.
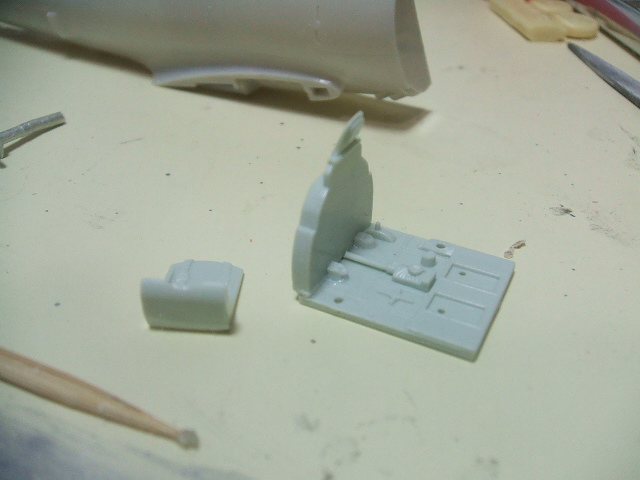
I decided to install the side panels from the resin kit, but they had to be chopped down until they were just pitiful remnants of their former glory.
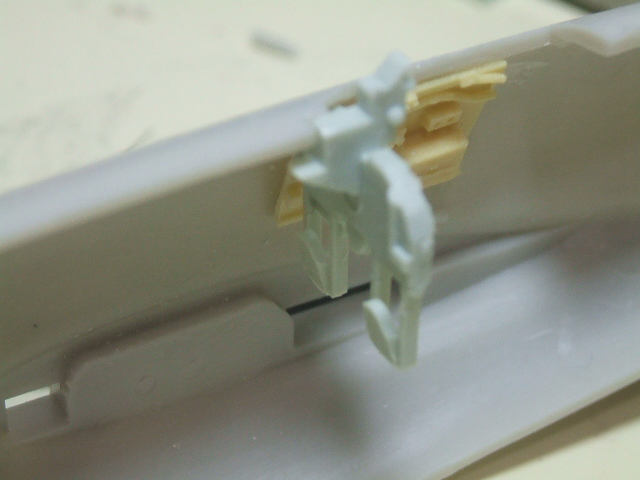
The tricky aspect of all this was to carve the notch into the Hasegawa fuselage half so that the Revell panel fit in, while not interfering with the side panel AND matching up with the floor. The only solution was to ruthlessly eliminate any part that did not contribute to the success of the group as a whole and then contribute their body to the food supply for the others. Oh, wait a minute, that last part was something else I was thinking about. Never mind.
I can see that the landing gear will be a bit of a problem too. Here are the tire/wheel parts provided in the High Planes kit.
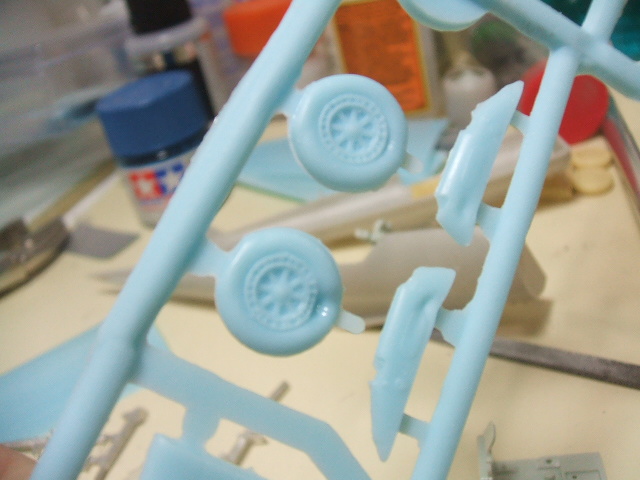
Ouch! I’m not filling and sanding that thing. So I’ll use the (less accurate) Revell wheels. But the Revell wheels do like to snuggle up to Revell struts. Like with like, you might say.
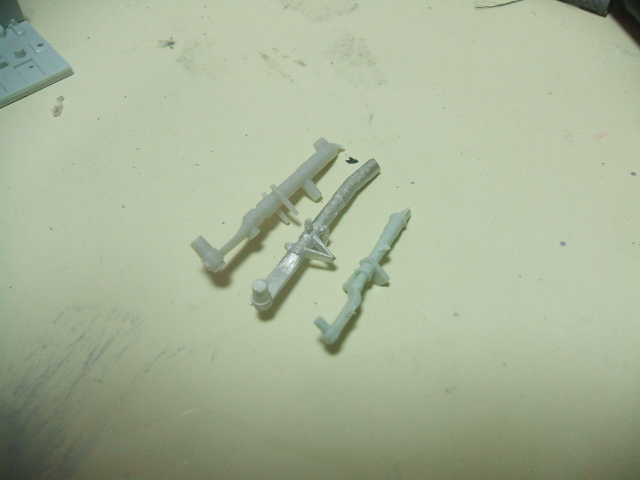
The Hasegawa plastic strut, the High Planes metal strut, and the puny Revell strut. What the @?!@#! Could Revell foul up just a few more things, please? I’ll have to modify the Revell wheels to fit the larger struts.
Stay tuned.