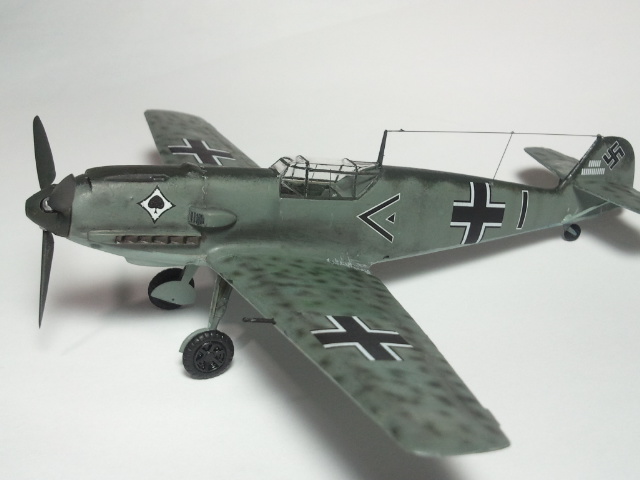
Mölders’ Me-109E in 1/72 Scale
Hey kids, how about some MODEL BUILDING! This is a build a did a while back that I partly documented over at the ATF but I’m going to put the information here in a more accessible format.
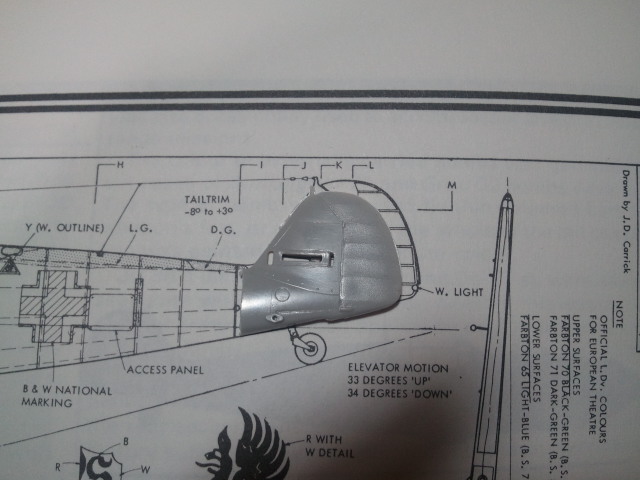
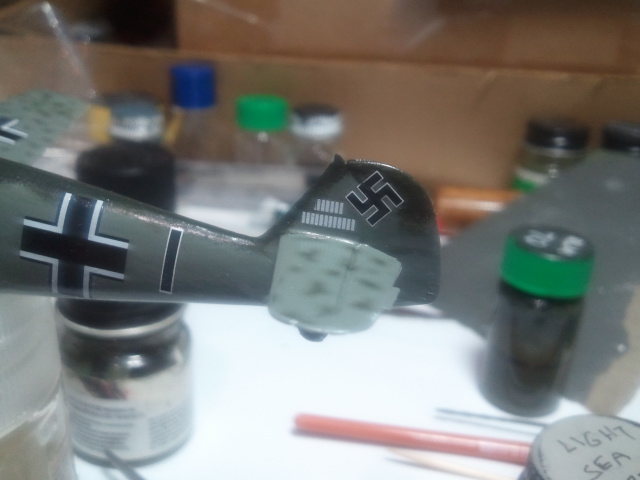
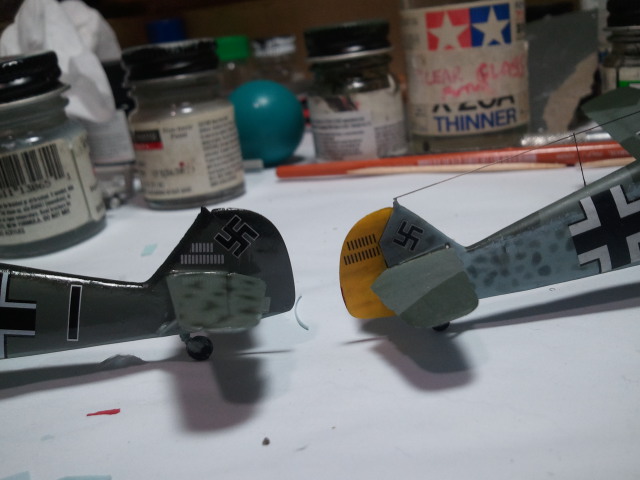
The kit used is the older Me-109E from Hasegawa in 1/72 scale. There is a major problem with this kit, which was not corrected on the “updated” kit. All of these Hasegawa 109E’s suffer from a vertical tail that is way undersized.
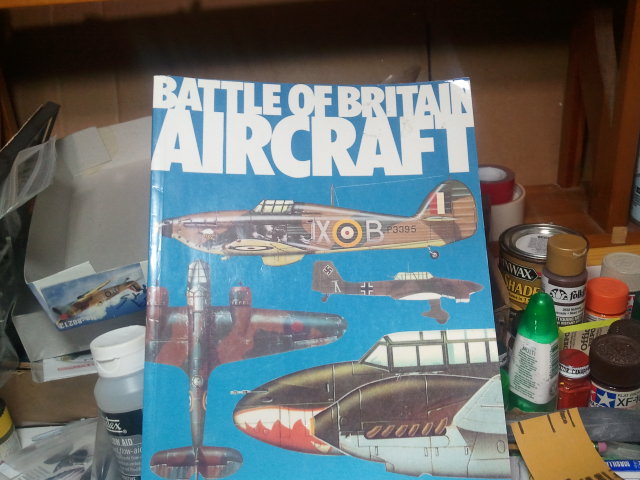
I’m comparing it to drawings from here:
Here is the kit part on top of the drawing.
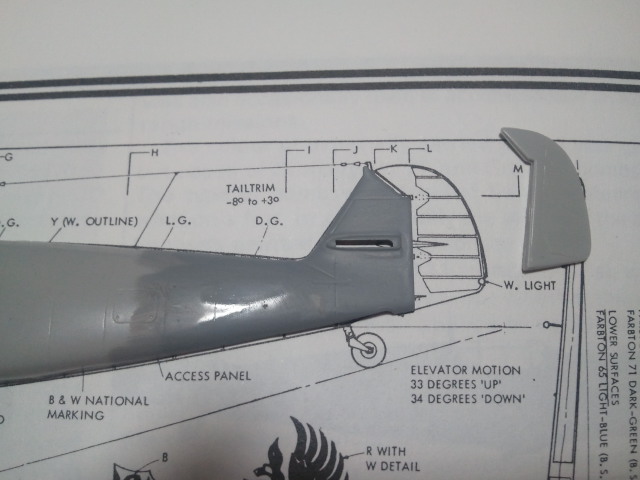
The Italeri Bf-109F in 1/72 is a poor kit with its own problems, but it does have a tail of the correct size, and the tail is provided as a separate part, so I cut off the Hasegawa tail and attached the Italeri one.
Here’s the new tail compared to the drawing.
There is a black and white image of Mölders’ aircraft showing this experimental scheme.

It’s assumed that this started out as two very dark greens and a very light blue. Then “RLM 02” was used to lighten the scheme to produce something better for air-to-air combat. This is how the airplane looked during the Battle of France.
I’ve tried to determine what “RLM 02” is supposed to be. I’ve mixed a number of colors to try to find the elusive magical shade.
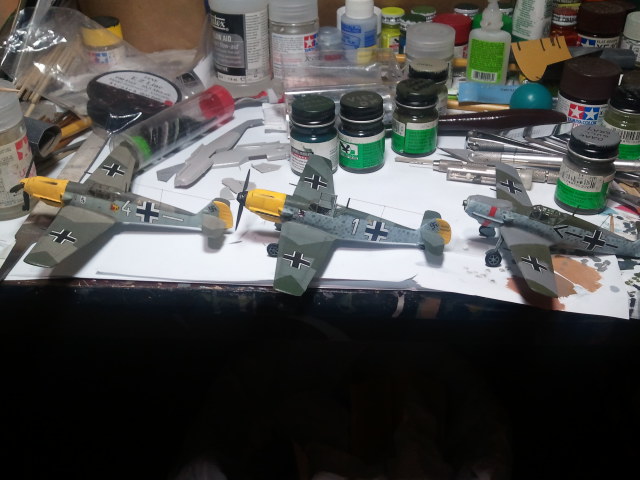
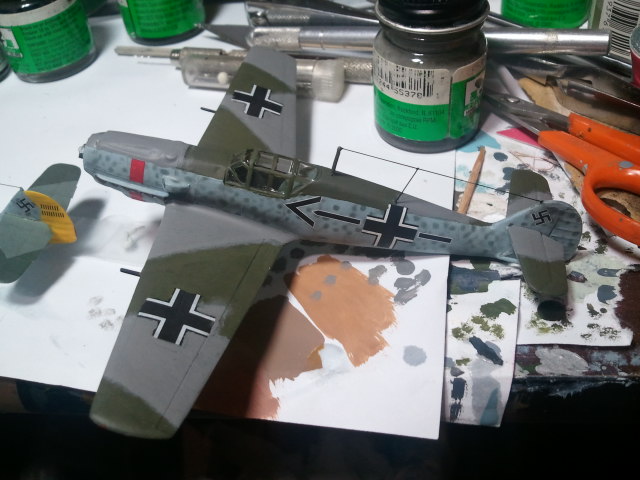
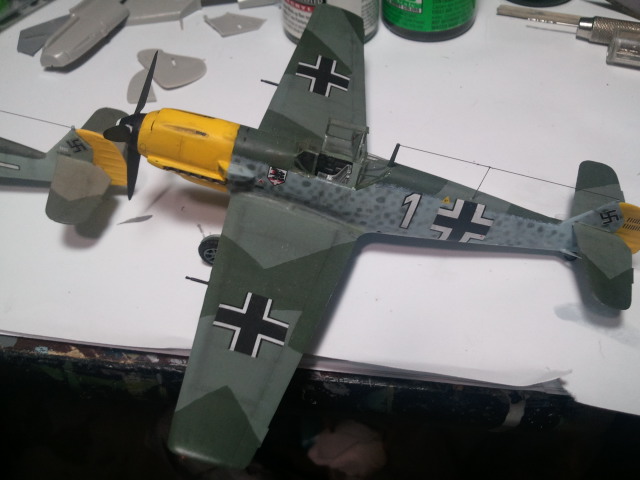
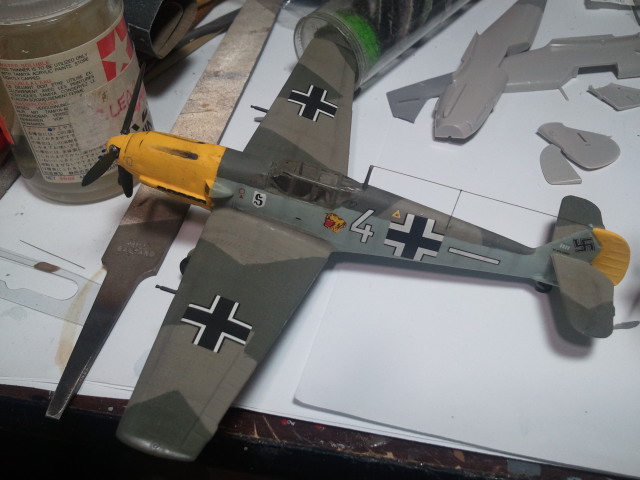
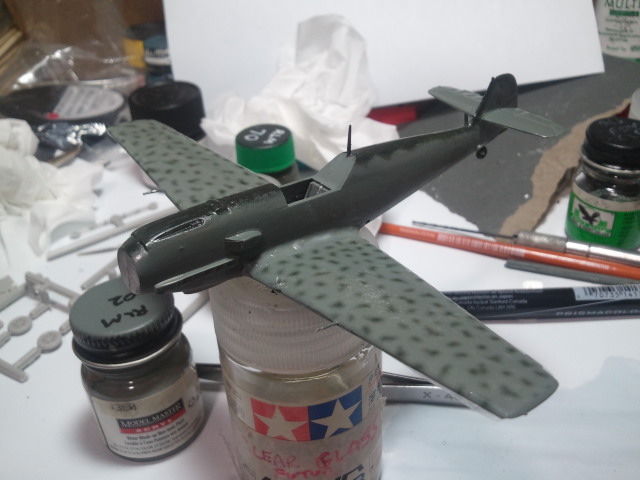
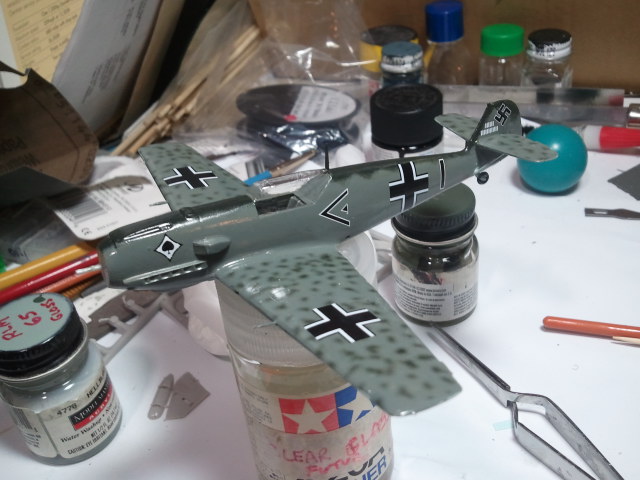
I decided to go with Gray Green (who knows?) and try to get a good result without spray painting.
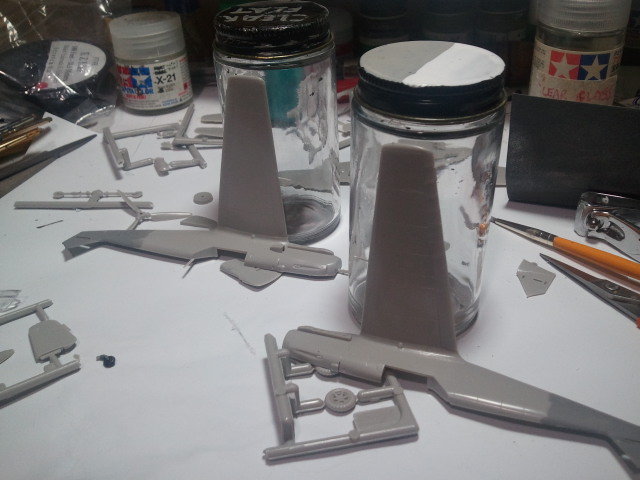
Always attach wing tops first!
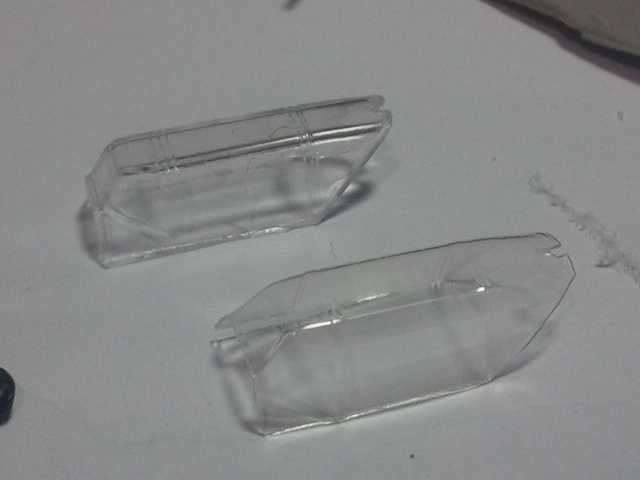
Then get the vac-form canopy ready (this one is from Falcon).
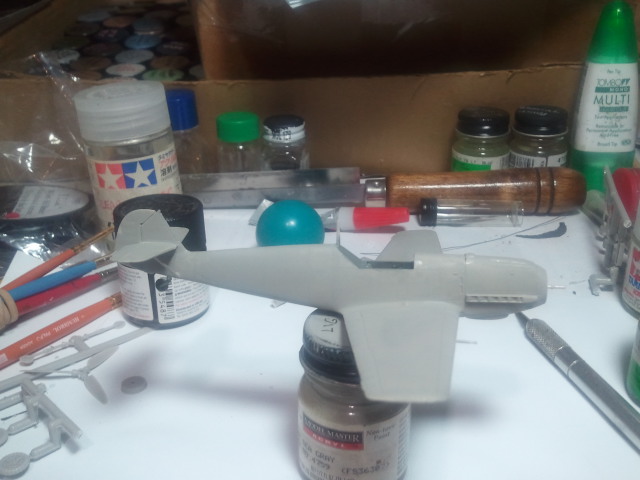
After the “wing tops” had cured up I assembled the fuselage, I added some support struts for the horizontal stabilizers made from stretched sprue. Then I applied a coat of Model Master Acryl RLM 65 to the under-surfaces. This paint is very, very green in color. I’m tempted to believe that all their Luftwaffe colors were based on samples that had yellowed over time, or something. After all, why is it that Testors MM Acryl Luftwaffe paint is all sepia-toned? Hmm?
I put a coat of the gray green on there, and then added a “spine” of black green 70. Stippling the gray green produced a feathered demarcation line. Then I gave the model three coats of Future.
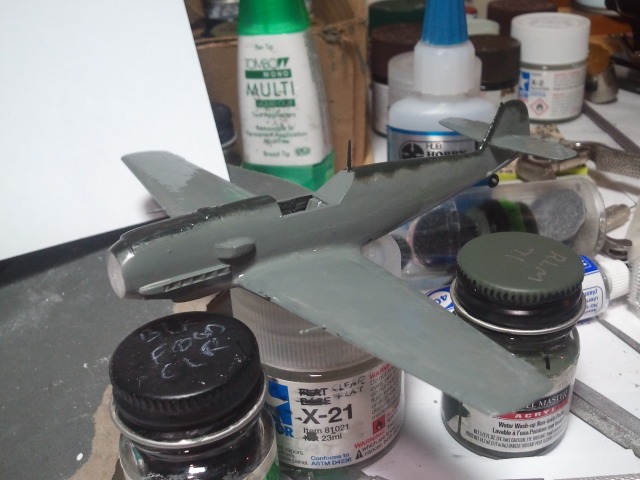
I used “mottling” printed on an ink-jet printer for the mottling on the wings. Mottling on wings was very common if you look at photos of Luftwaffe aircraft, yet there are very few models, profiles or whatever that show this. Strange.
I used a variety of decals to get the correct markings. Study that photo of the real thing carefully to see the exact size and shape of the markings.
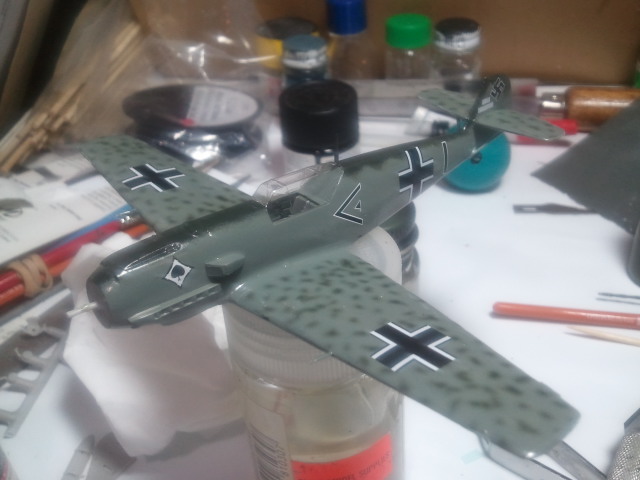
The kill markings are particularly tricky. Also note the older style position of the magical swastika that will turn you into a Nazi if you look at it. DON’T LOOK…too late.
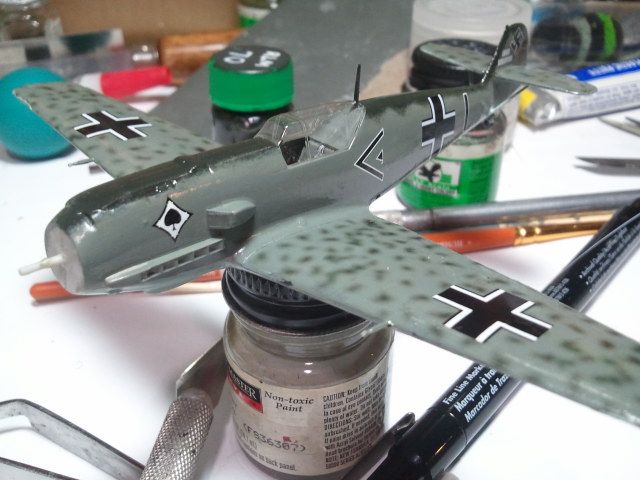
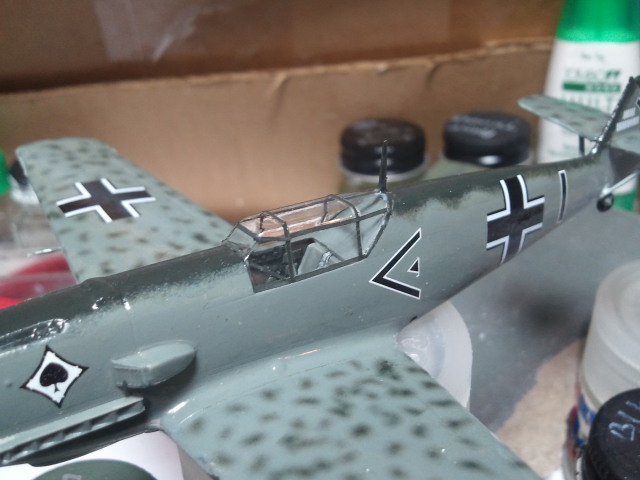
I added the vac-form canopy. Notice that this early model 109 lacks a headrest.
Here’s a comparison of the correct tail and one on an un-modified Hasegawa kit.
The canopy braces are made with strips of decal material. Remember, even the repainted 109’s retained the black green 70 bracing. You can see this if you look carefully at color photos (go ahead, I won’t tell anybody).
I added some ground charcoal weathering and some paint chips created with a white charcoal pencil.
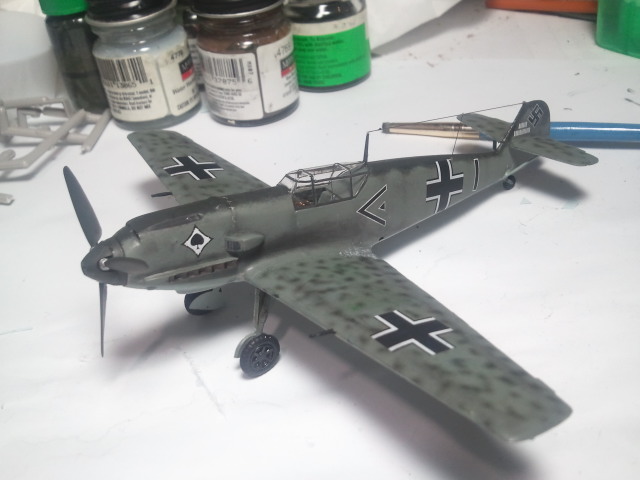
The finished model is no larger than the palm of your hand.
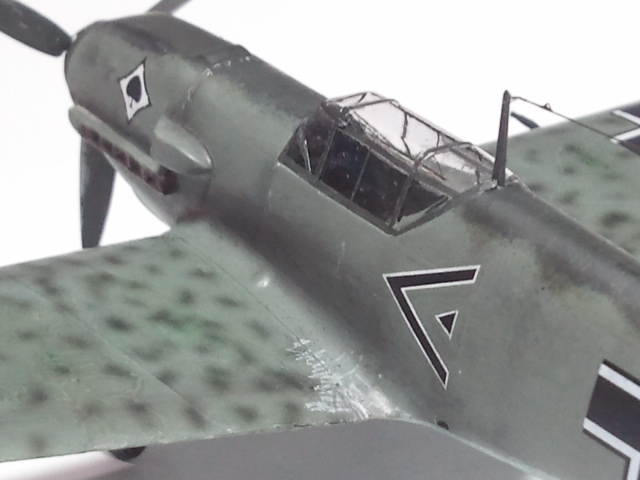
All painting done with brushes only.
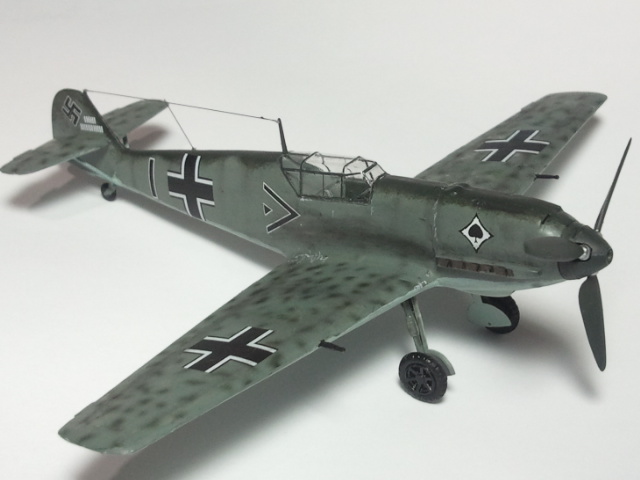
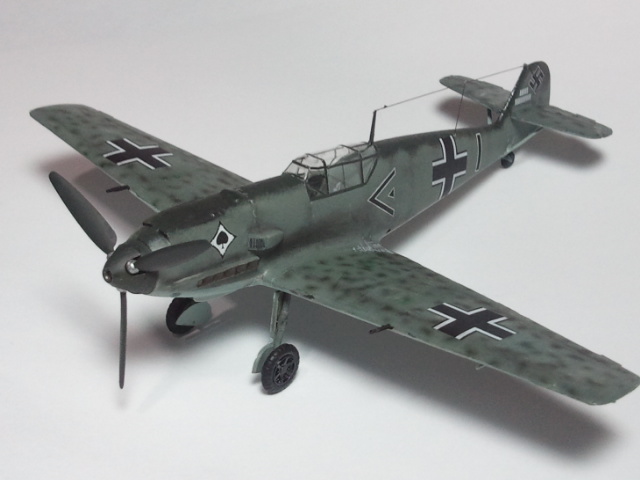
That’s all for now!
Very nice. I like the early 109’s, B-E. Thanks for the paint/markings tips.
I now believe that the scheme should be biege RLM 02 painted up the sides of the fuselage, and mottled on the wings (over the black green/dark green camo from the start of the war). That would be a cool-looking model, and probably historically correct.