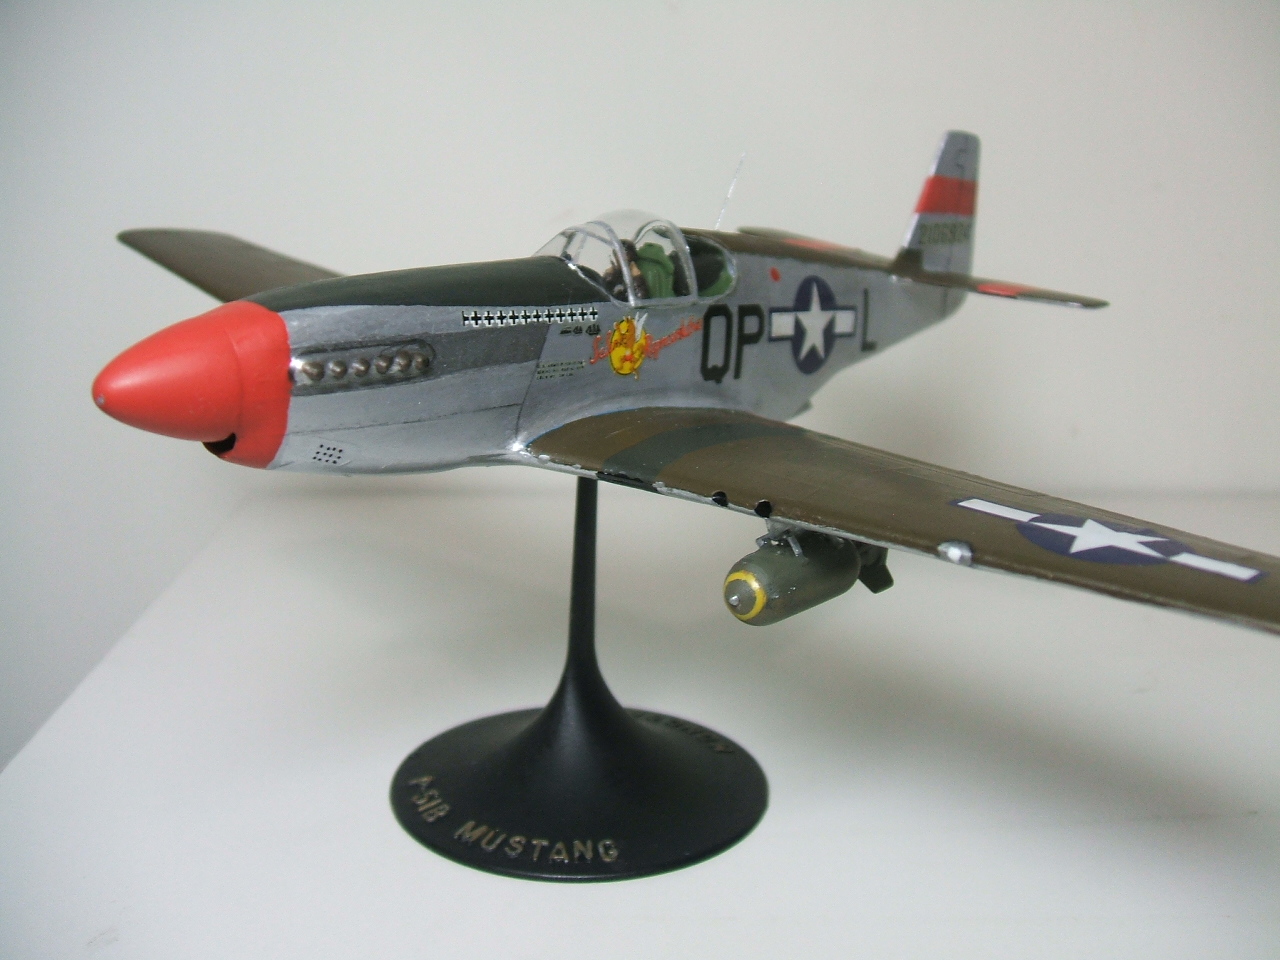
Salem Representative: P-51B Part 10
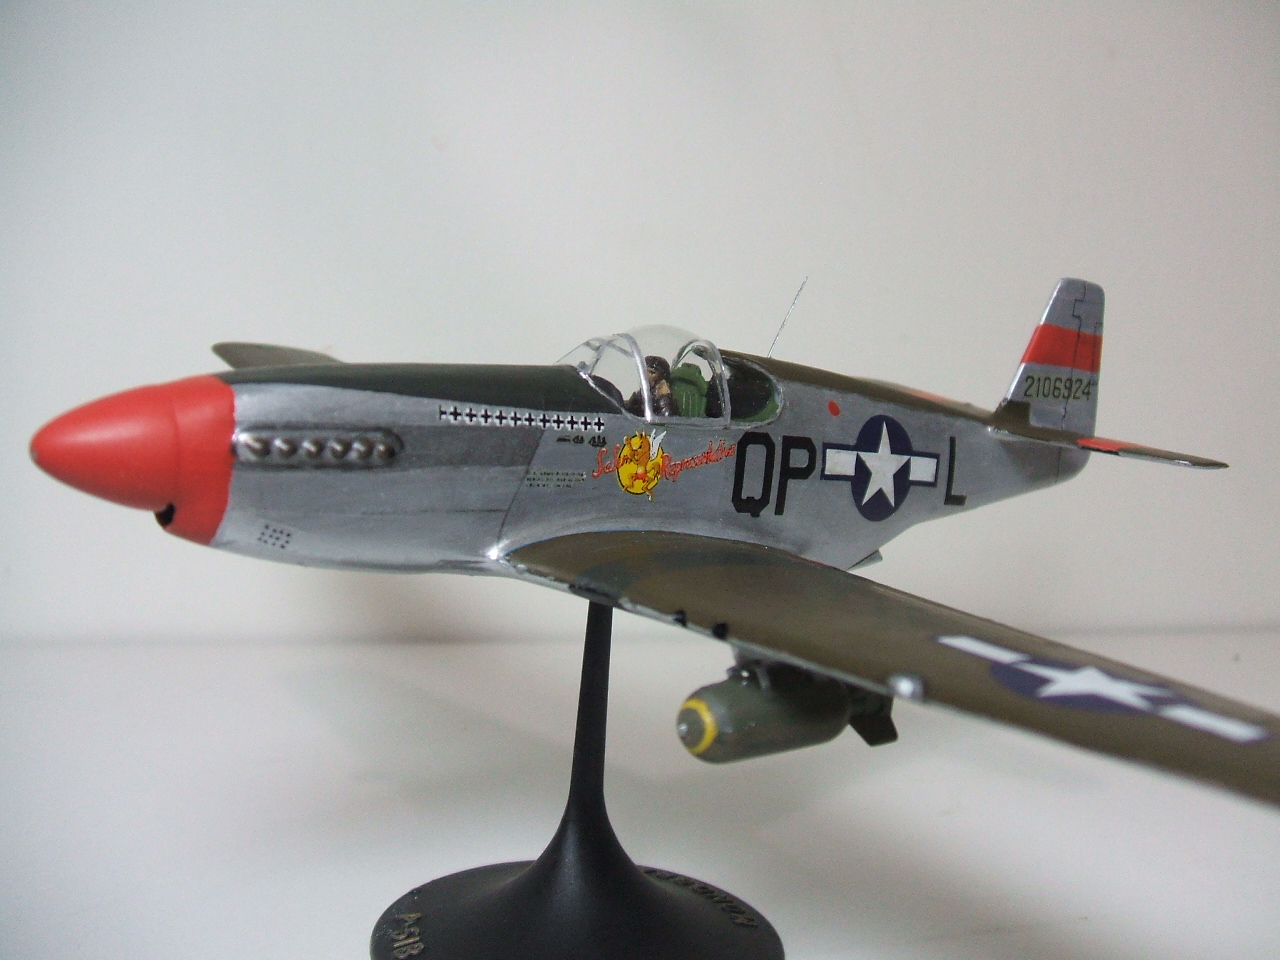
Here’s Kidd Hofer’s P-51B built from the old Monogram kit and built “wheels up” and put on a stand–just like in the old days.
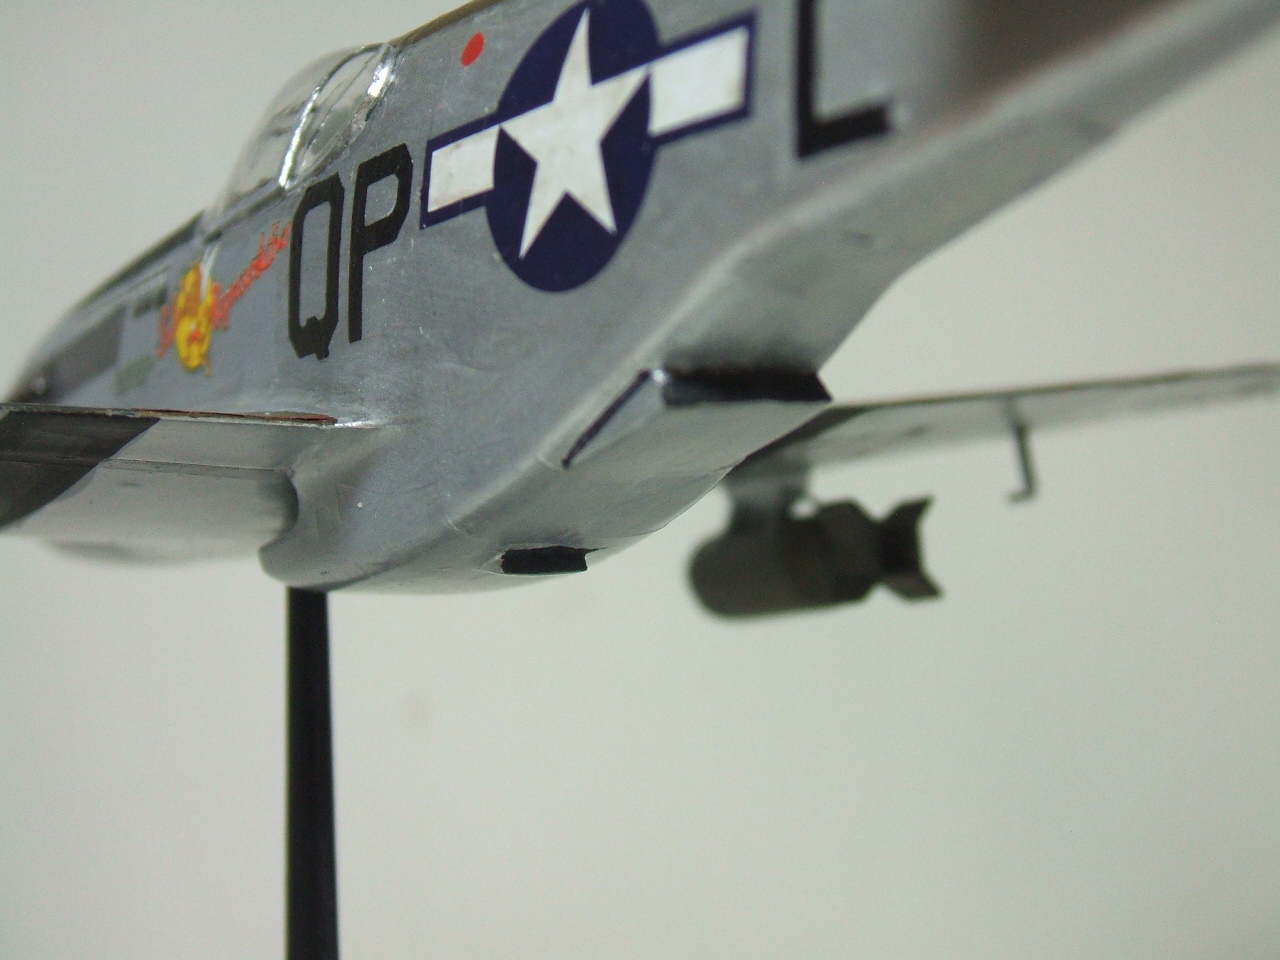
I finally decided to take some bombs I had in spares box and attach them. The bombs in the kit were 250 lb. bombs and I wanted to show the larger bombs here. I attached them with Tombow Mono Multi glue (I wish they’d rename that stuff).
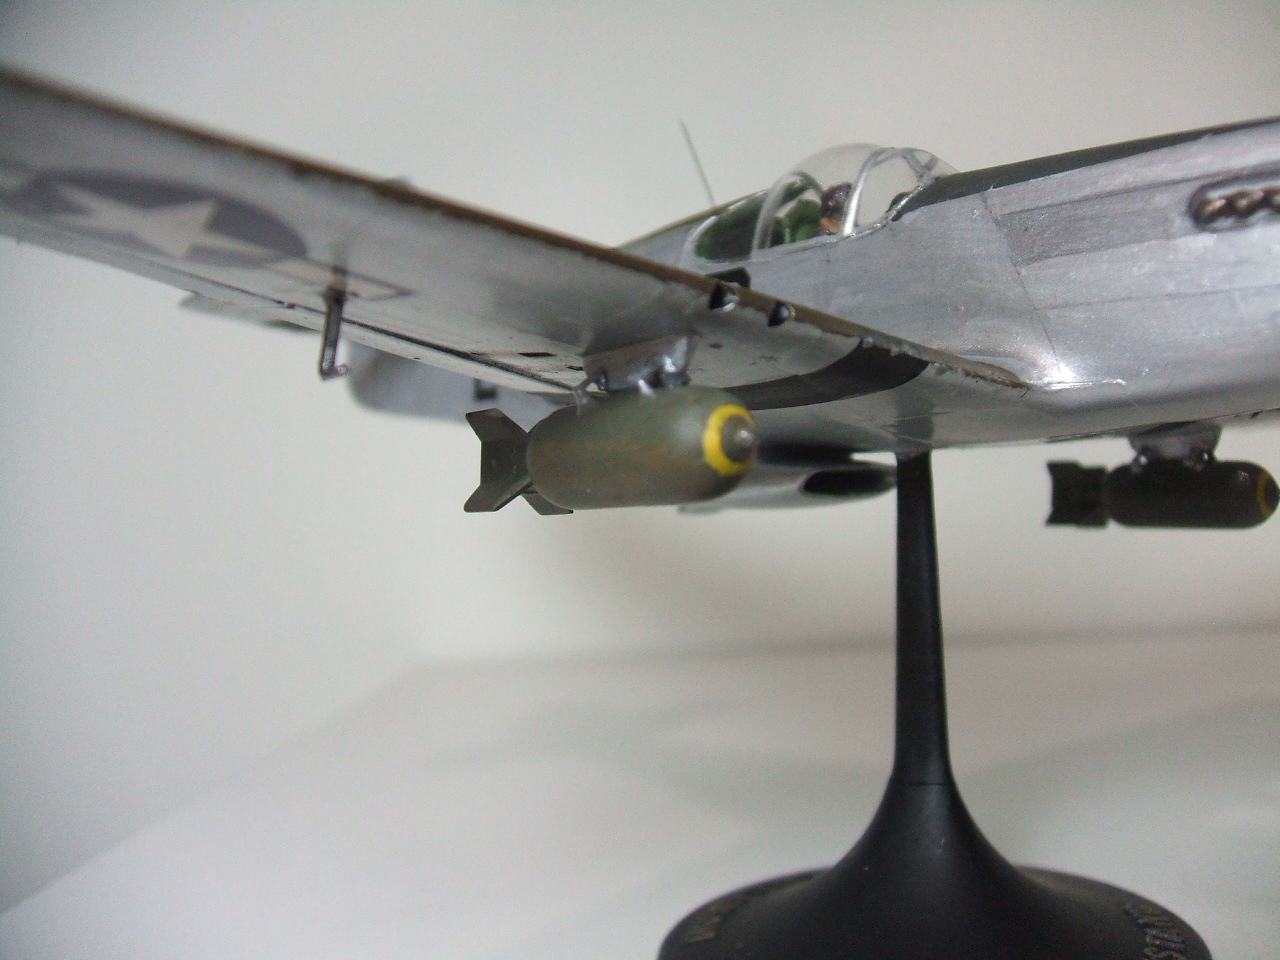
I made little sway braces out of tiny slivers of sheet plastic, cut with scissors and attached with super glue, Then I bent the ends of the sliver down to look like sway braces and used the Tombow glue to “simulate” the connection to the bomb.
The key thing here is to educate yourself a little on sway braces and learn what they do and how they work. Then, when you know what you’re looking at, you can replicate them. I’m not sure my version looks like “the real thing” at all. But it looks like something that might work in reality so I’m happy with it.

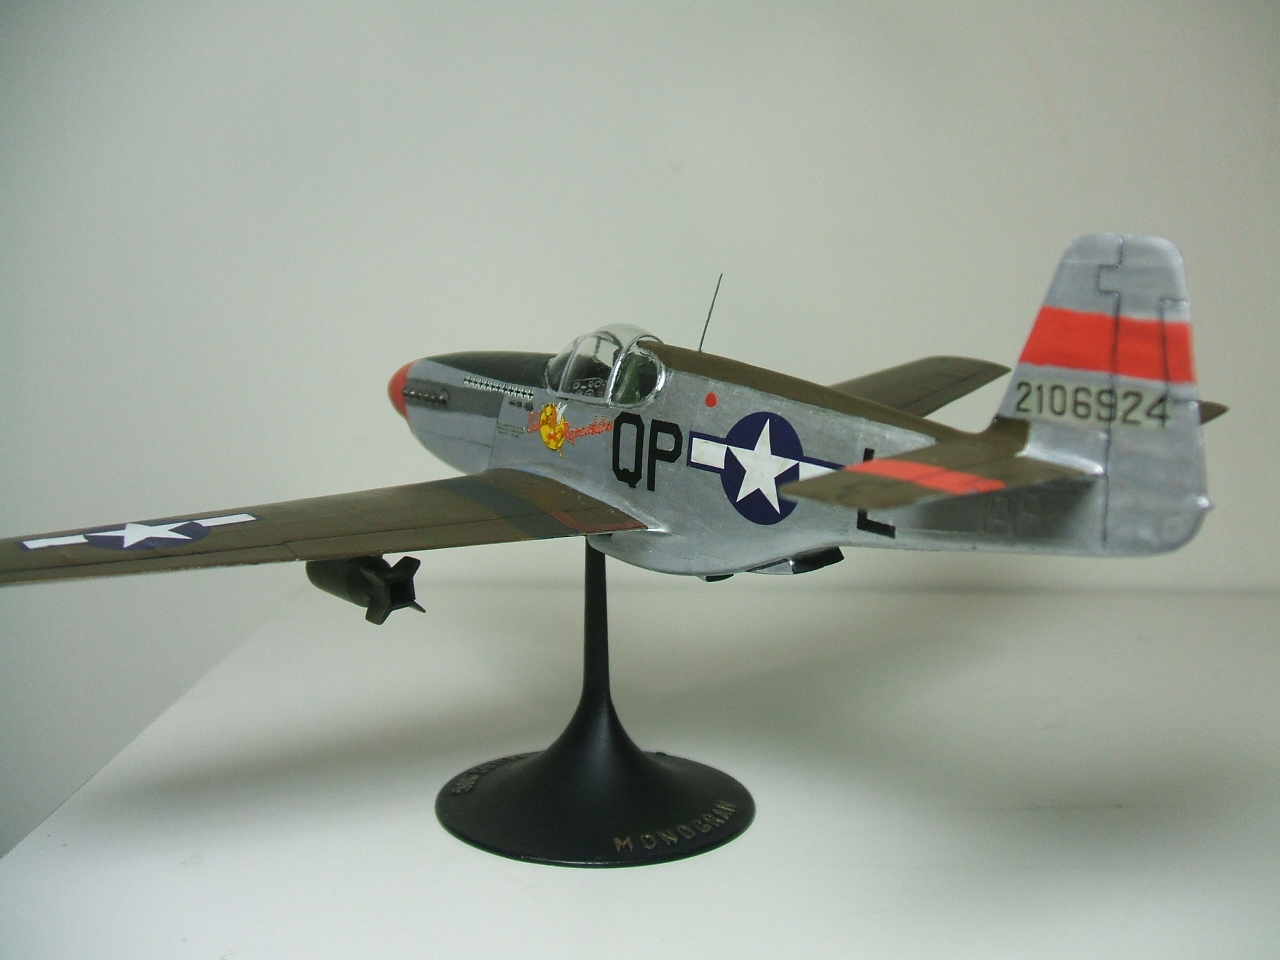
I added a red “dot” where the refueling receptacle would be located. To do this, I cut off the end of a toothpick and dunked the truncated toothpick into insignia red paint from MM Acryl. Then I used the toothpick like a stamp to “stamp” the color onto the surface of the model. Practice first.
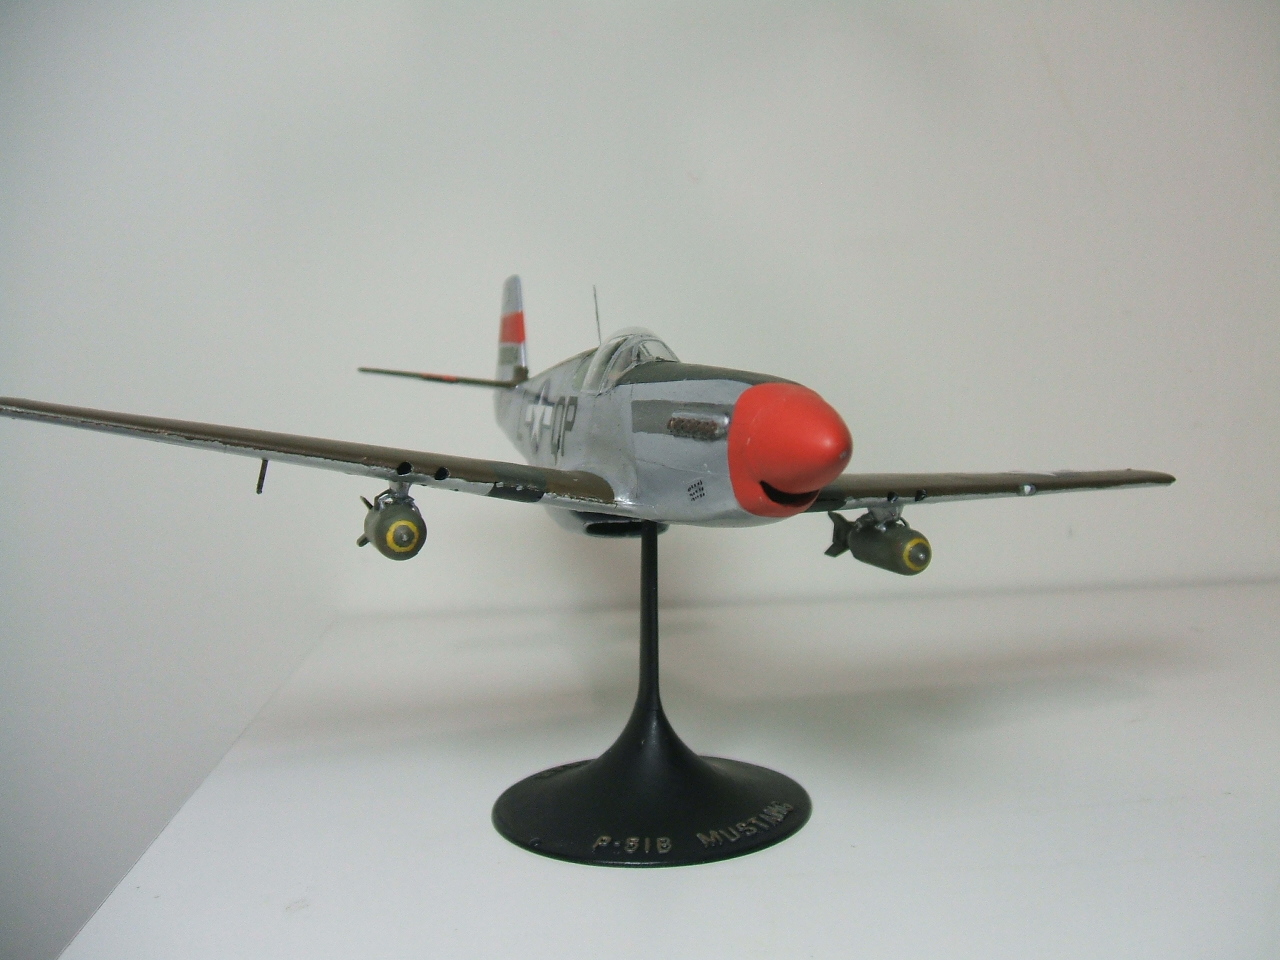
I took a Prismacolor .005 black pen and drew in the dots on those little “intakes” on the nose of the aircraft, aft of the prop and below the exhaust. It was easy to do because if I screwed it up I could just spit on my finger and rub off the water-based ink.
Needless to say, this may not be waterproof. I’m not worried about it. If somebody picks up the model and smears the markings I’ll redo them.
There is a taxi or landing or whatever light in the leading edge of the port wing of a P-51. I drew in a “silver” spot with a silver Sharpie, then added a dot of flat white in the center to replicate the light.
The yellow circles on the nose of the bombs are done by applying dots at 12, 3, 6 and 9, equidistant from the fuse. Then put dots between the existing dots. Then put more dots between each of the existing dots. Then connect the dots, making a yellow circle. I wouldn’t worry about making it perfect unless you’re going to buy some high-end photo equipment, make a photo booth with a blue background and sign up for Hyperscale.
Otherwise, consider that these bombs were intended for one-time use and that use consisted of blowing them up. My analysis of wartime photos indicates that bomb-painting was not a high priority. It was sloppy.
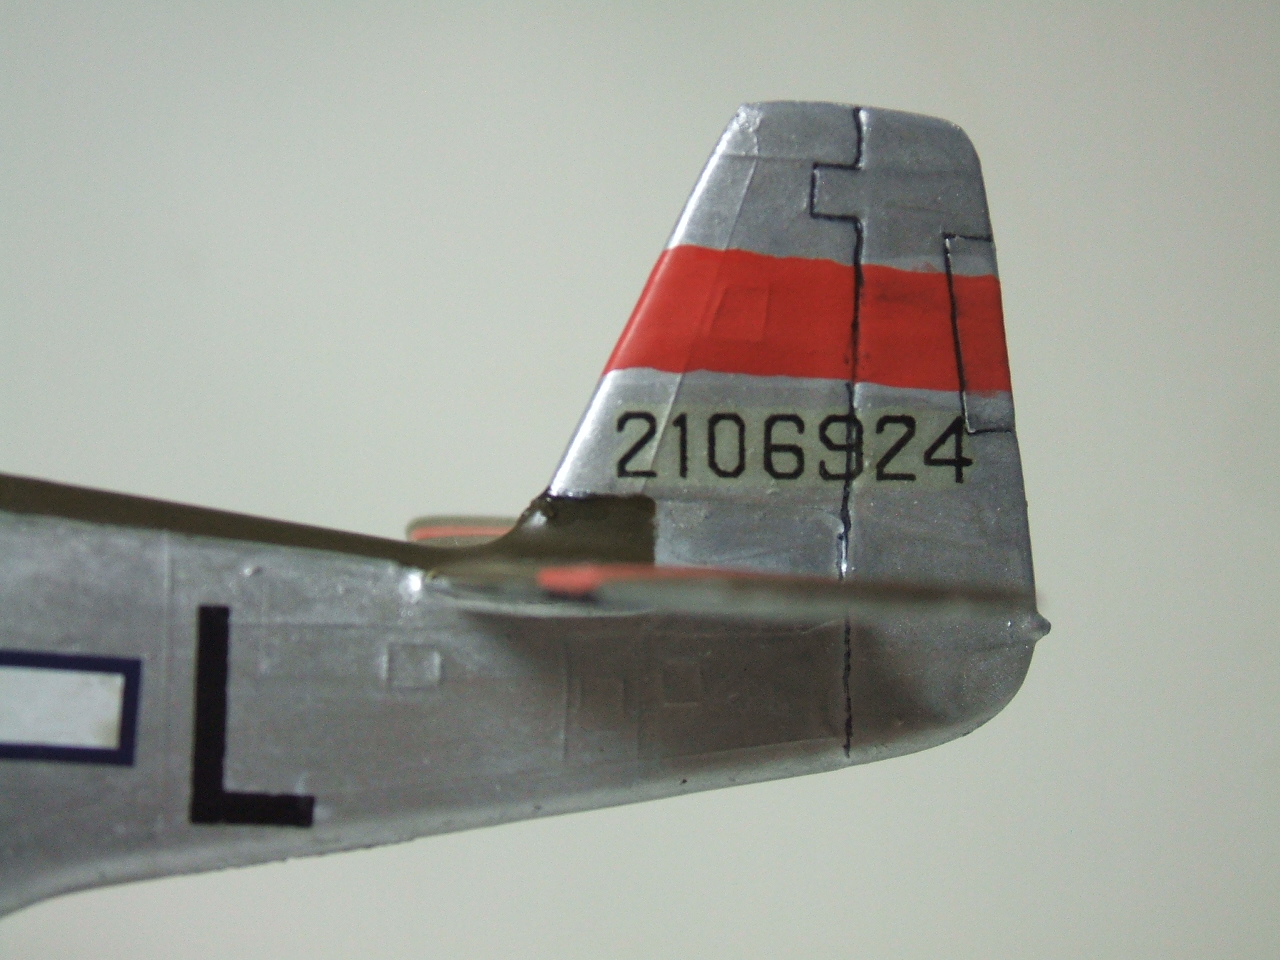
I used a very ordinary pencil to draw in panel lines, and that .005 Prismacolor pen was used to “highlight” the engraved lines on the flight controls.
I used Tamiya flat black and a very small brush to make the various exhaust ports look “open.”
I really enjoyed making a “wheels up” model and I highly recommend it to anybody who’s suffering from what the French call Le Malaise Plastique.
It’s all in the details. 🙂
Those sway braces; when looking at a pic of the real deal – I’m doing a Belgian Fairey Battle at the moment – how to do so without etch or super thin wire in 72-scale… I just jumped the low fence and found some bombs and plastic card to attach them to. Four 100 pound bombs under each wing… now your’s looks good. 🙂
A lot can be done with paint and the details is really whats brings a model to life. Will pick up an old Monogram Mustang B if I ever come across one. 😀
I relied on the “stringy” quality of the Tombo glue. It tends to form strings, so I put some on a toothpick, applied it to the sway brace and then “strung” it to the bomb. Let it dry and painted it with Citadel Mithril Silver. It also helps to hold the bomb in place. I attached the bomb using the Tombo glue. Apply it to the bomb and the pylon, let it dry, then stick it together. It’s like adhesive tape. This allows me to reposition the bomb. Whenever I use super glue for a bomb or a tank I put it on crooked. Never fails. With the Tombo glue, I could remove and re-attach until it was straight (more or less).
Never found Tombo these places but a good idea. Super glue… glues anything else than what I want when I want. 🙁
Good to see an in flight model. A rare sight outside my home these days. I like the stand, but am a big fan of the Matchbox stands. Fit nicely on a ‘plug in’ system, which can be easily removed, and swiveled so that the model can be shown at various angles. Unfortunately Matchbox models are now ‘collectors items’, and fetch prices according to this dictum, and the stand system was dropped in the Revell re-pops, so no more issues to be had. I might try and work out a home made alternative using the ‘ball and swivel’ principal. Cheap pen holder perhaps? I will have to do some research.
Very nice job on this build!