Starting Out: B-24 Part 1
This Minicraft (Academy) B-24 has the nose molded separately in order to allow the same basic fuselage parts to be used in a variety of different B-24 sub-type kits. But this causes problems. The parts don’t really fit, so you have to do something about it.
My approach is to attach any “inserts” early on in the build and avoid the worst of the ill-fitting part problems. In this case, I attached the two “nose halves” to the two fuselage halves as the very first thing I did.
Well, actually, the very first thing I did was test fit, bend, test fit, and bend until the parts “more or less” fit together. Then I glued it.
I use Micro Weld for gluing. It’s more “green” than the usual plastic cement because the active ingredient is some kind of citric-acid. It smells like oranges.
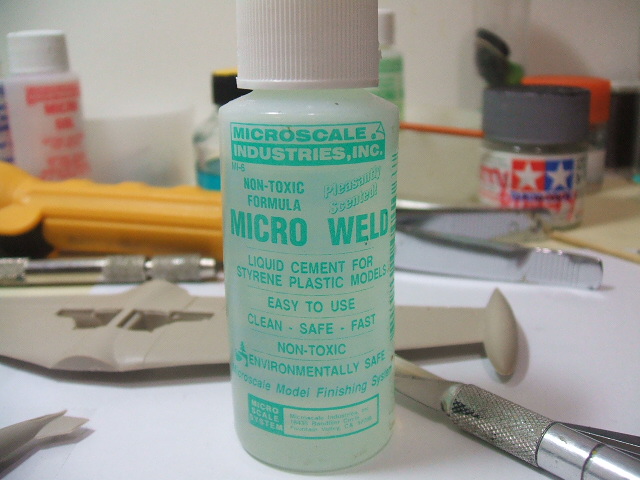
This stuff works slower than, say, “Tamiya Extra Thin” and it allows me to adjust things that I glue up early on. There is no “instant bond”; on flakey seams I can “adjust” the thing by moving it around until i get it where I want it. Over time, the join grows stronger, and I can do more radical adjustments. I use a LOT of clamps to get the parts to do what I want.
That’s how I avoid filling and sanding. On most kits, using this kind of “good” assembly technique will allow you to just-about avoid all filler. Even on old Airfix kits, a little planning can undo the need for filler. But you have to PLAN.
Using this type of cement isn’t difficult but it may differ from your experience with “hotter” solvents. You apply a good coat to both mating surfaces. Let it melt a little. Then you apply a second coat on top of the first. Let it melt for a few minutes. Then put the parts together. Then apply a brush-full of the cement to the seams at the “edges” where the cement will run along the seam and really melt it. Then let it set for a while. Take a look at it an hour later and if it’s out of whack–grab it and bend it to shape. Put some gramba into it.
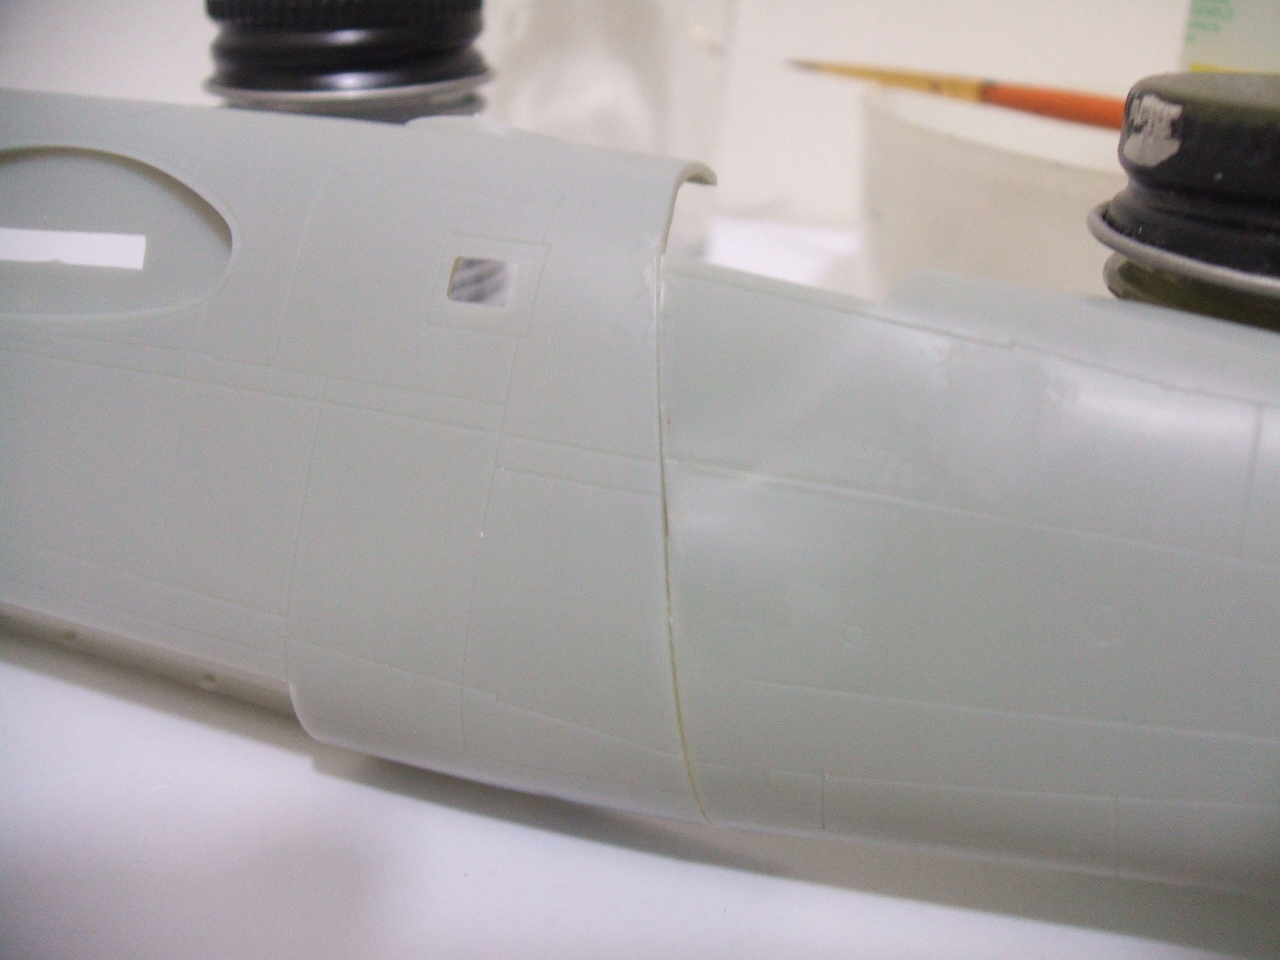
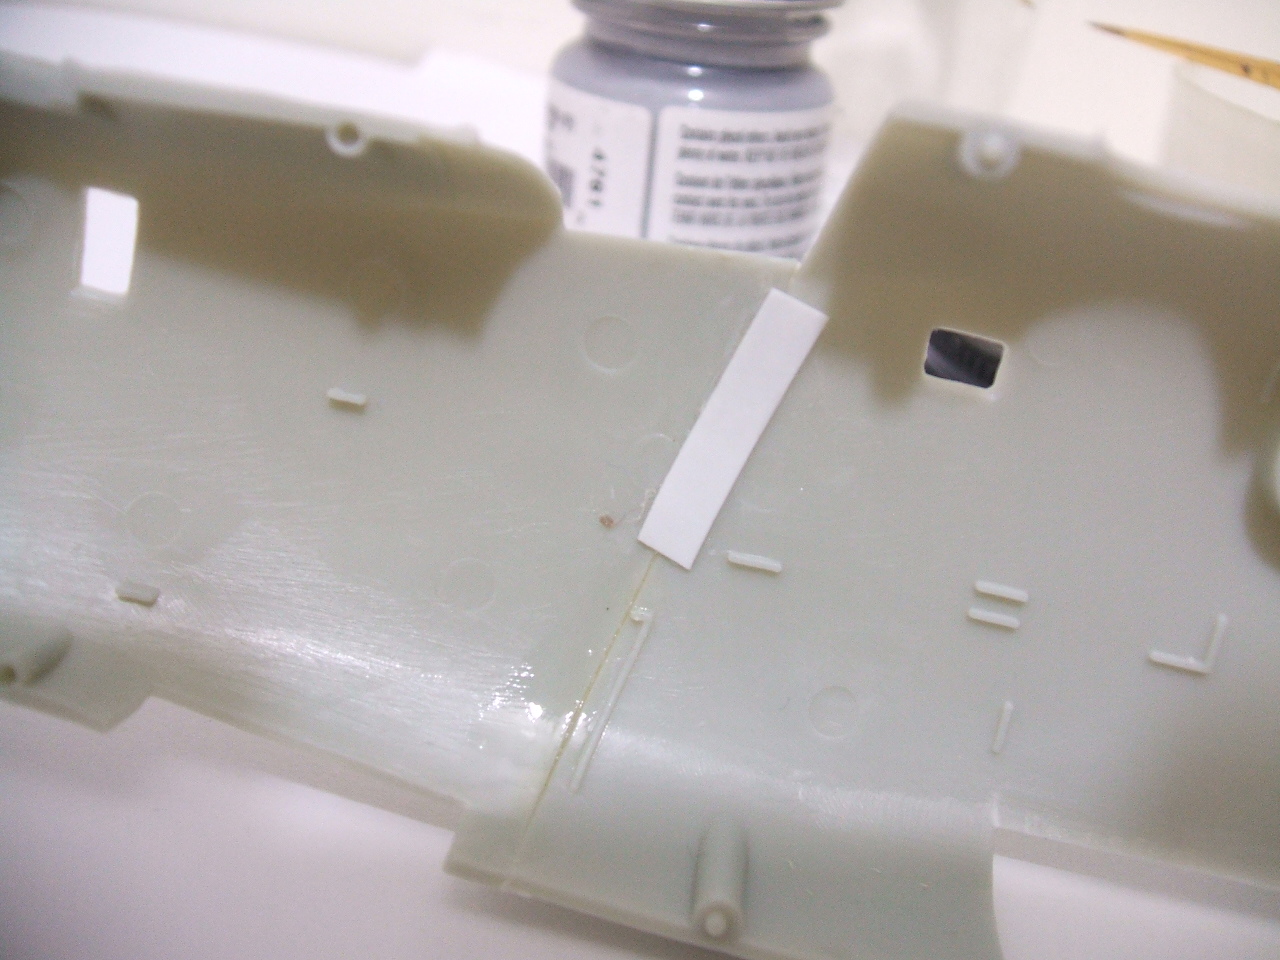
In the case of the B-24, I butt-joined the parts together and let the cement do its work. Then I added some little “back plates” made out of plastic sheet to ensure that the joint wouldn’t break. When the Micro Weld had really cured, I reinforced it with some Testors canopy glue. I put this on the seam on the inside of the fuselage.
This is what it looks like now, after wrestling the parts together, using the Micro Weld, adding a back plate to both sides and using the clear part glue to “fill” the inside of the seam to give it more strength. ONE THING YOU DO NOT WANT TO DO IS APPLY MORE MICRO WELD AFTER THE FIRST APPLICATION HAS CURED–IT WILL LOOSEN THE JOIN AND THE PARTS WILL “UN-GLUE.”
So, is this fun?
Hell no. This is a big pain in the butt that forces me to work out a way to fix something that came in the kit for the benefit of the management of Academy–not for my benefit. So I’m not happy about it, but that’s how it is.
Please note that I’m not really concerned about the appearance of the “inside” parts of this model (beyond very basic stuff). It’s all kibbles and bits to me and it will be hidden (mostly) when the model is finished.
Mostly, I’m all about tail skulls.