Building a Fine Molds Bf-109F in 1/72 Scale
I thought I’d take advantage of the horrible actions of Photobucket to add a “bonus” how-to article to the blog, since the photos needed to do so are now over here– on the blog server.
I hope that made sense.
Anyway, I don’t have anything else to blog about and I will be gone starting tomorrow afternoon (so if there is something interesting to say, I may post it tomorrow).
Fine Molds is one of those Japanese model kit makers who really, really pull out all the stops. They make plastic model kits like it was a big deal or something. Whatever the nation of Japan may be guilty of doing to world culture (Pearl Harbor, anime, odd KitKats) in the world of plastic model kits, outfits like Tamiya, Fine Molds and a few others really work at restoring my faith in humanity. Their Bf-109F kit is a case in point. It goes together so well, that you almost think “I wouldn’t dare to build this without an airbrush. I couldn’t do it justice.”
Almost.
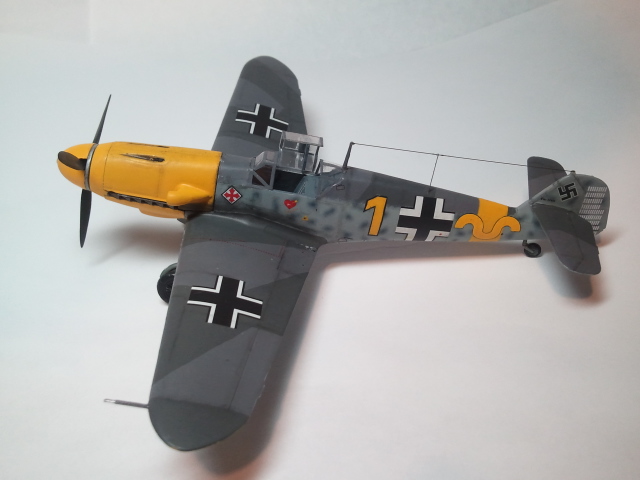
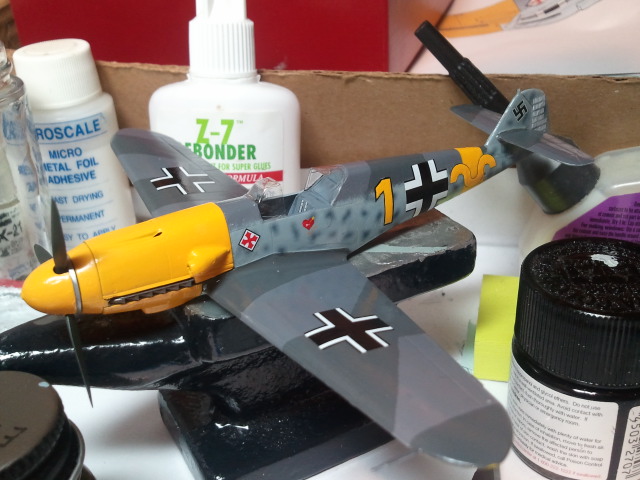
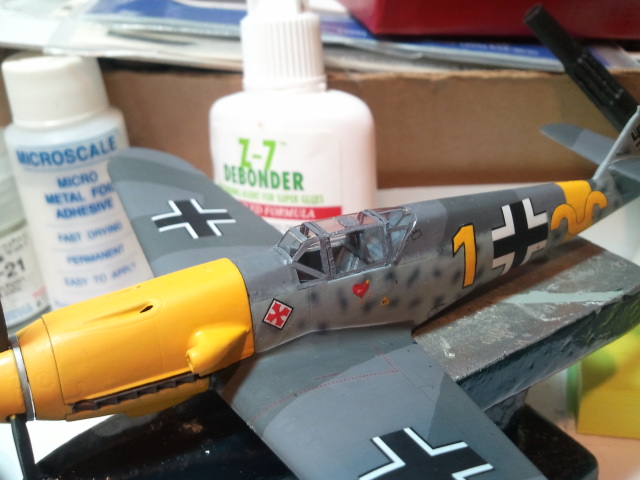
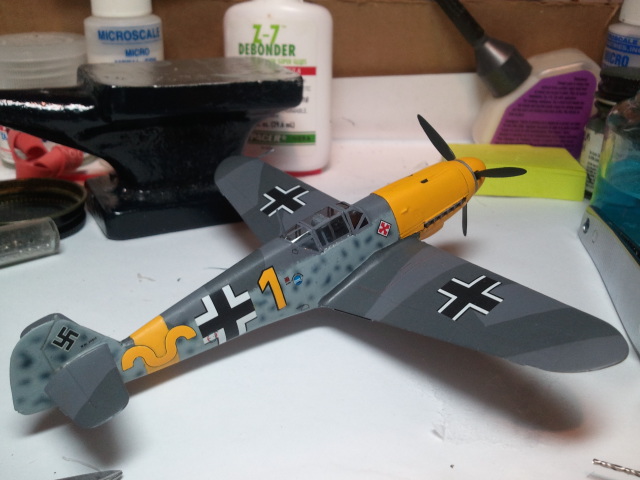
I decided to build the Fine Molds kit into a representation of the aircraft flown by Hermann Graf–one of the more famous Luftwaffe pilots. I was struck by an attack of temporary insanity (okay, maybe not so temporary) and so, despite the MANY sets of decals I have for this type of aircraft, I decided to do one where I would have to modify other decals to make up the appropriate markings. Please note that I did not have a photographs of Graf’s aircraft. I based this “model” on a profile.
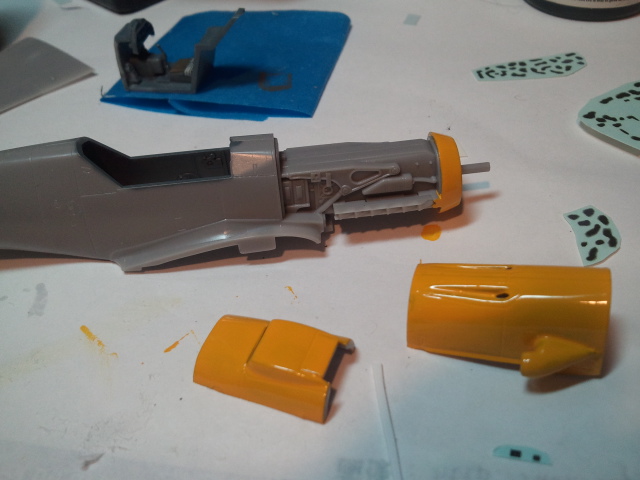
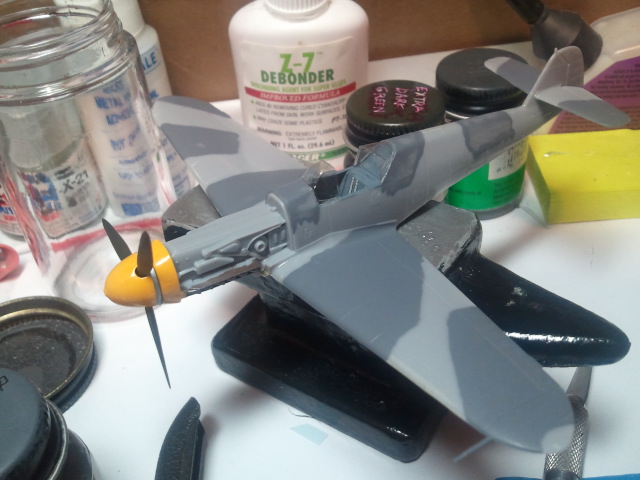
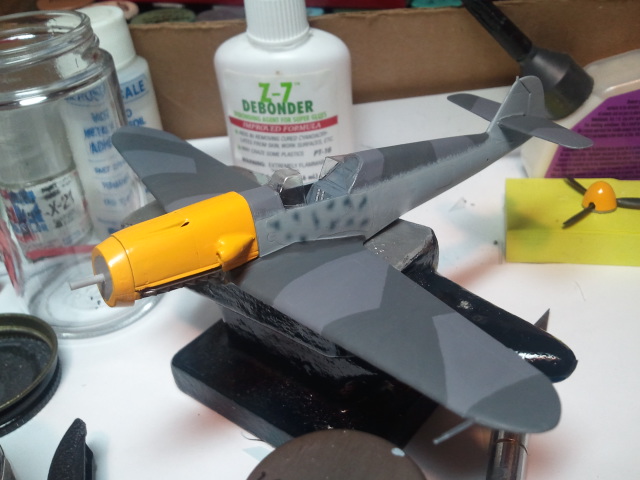
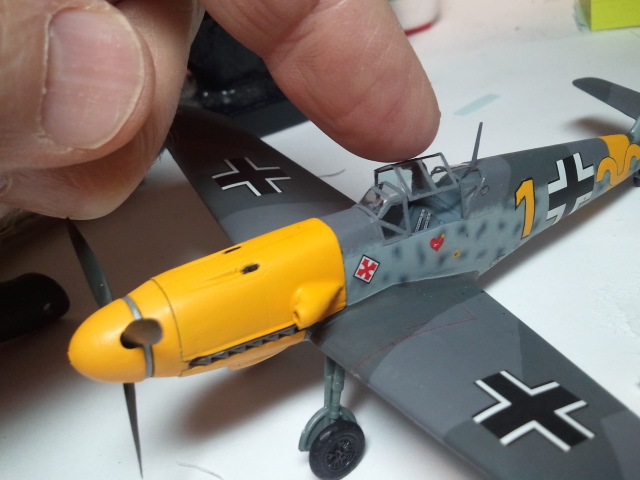
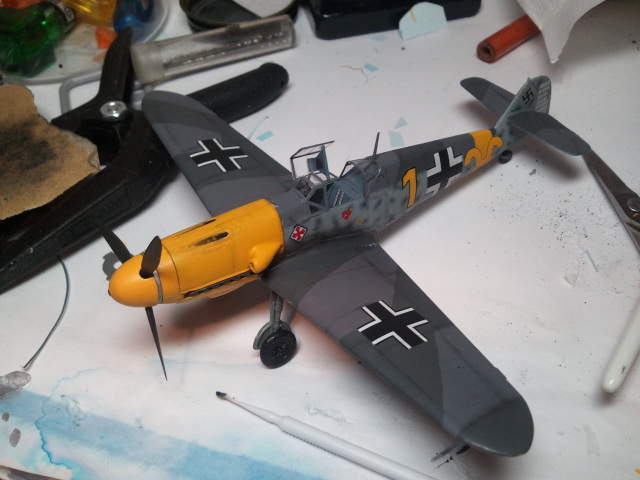
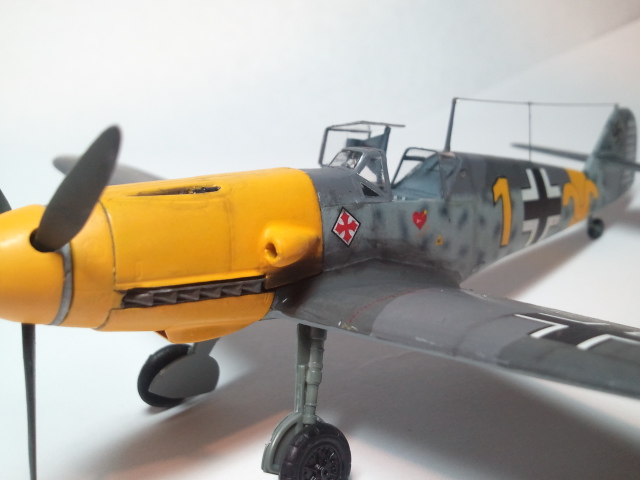
After some assembly work and the usual painting of the cockpit, I used Tamiya gloss acrylic yellow to paint the nose. Because the kit features engine access panels which are molded separately, you can paint them easily. Two or three coats, applied quickly without going over the same spot more than once. Note: on a Fine Molds kit, you don’t have to worry about a wing root gap. No need to attach the “wing tops” first.
Decals were made on an ordinary HP color inkjet printer. You get special decal paper made for printing decals on inkjet printers. After you print them, you seal them with Krylon clear gloss (very smelly stuff, nasty). The mottle pattern was borrowed from a mottle pattern found using Google. What a country!
Here’s my version of a cockpit. Decals for seatbelts.
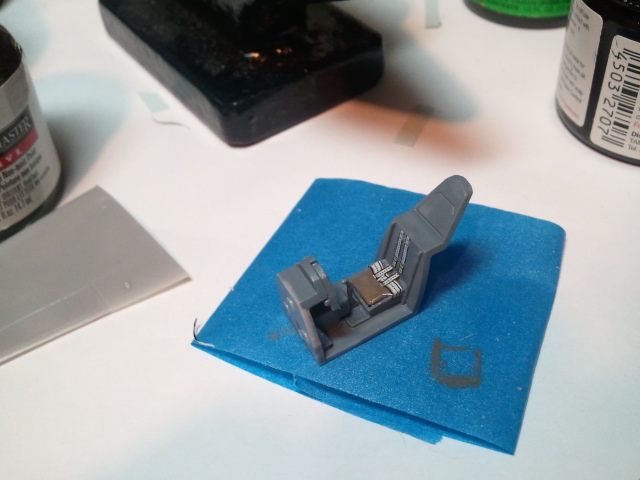
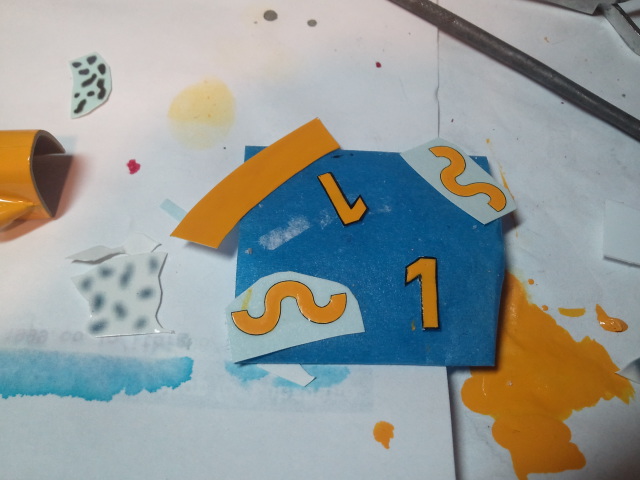
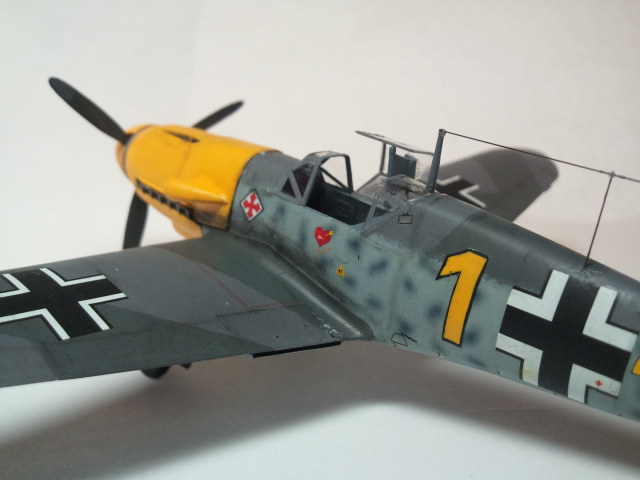
The markings were taken from another decal sheet. They were white, but I used my 10-0 brush to change them to yellow.
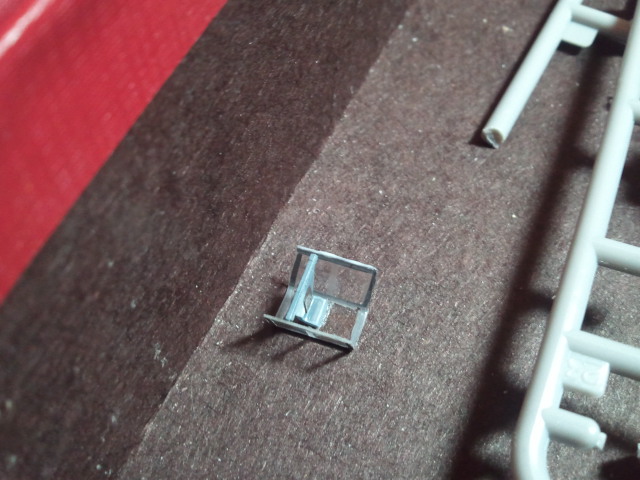
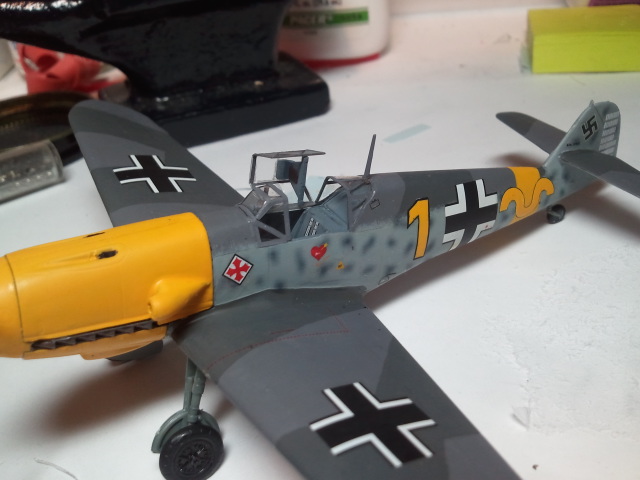
I used a Falcon Vacform canopy.

Now we brush on some Polly Scale I mixed to match my Luftwaffe color swatches given to me by Dolfo Galland. “Dolfo” to his friends.*
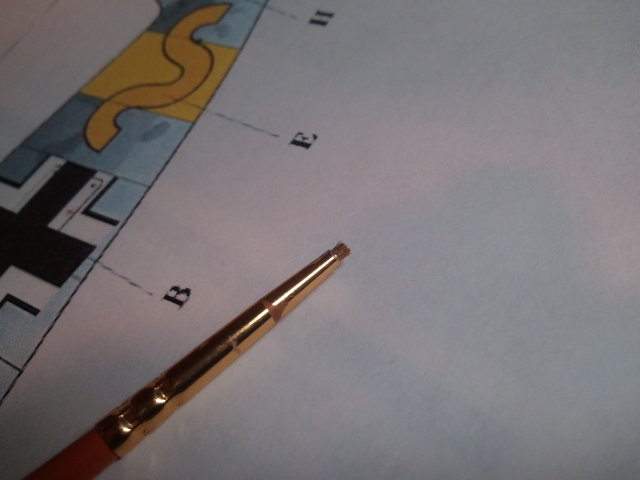
Study this image. I have a printout of the colors, but that’s not what’s important. The colors are painted DARK to LIGHT. Dark to light. This makes painting easier.
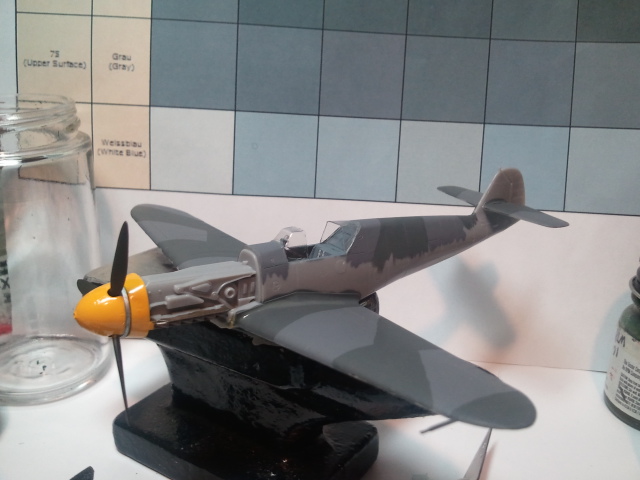
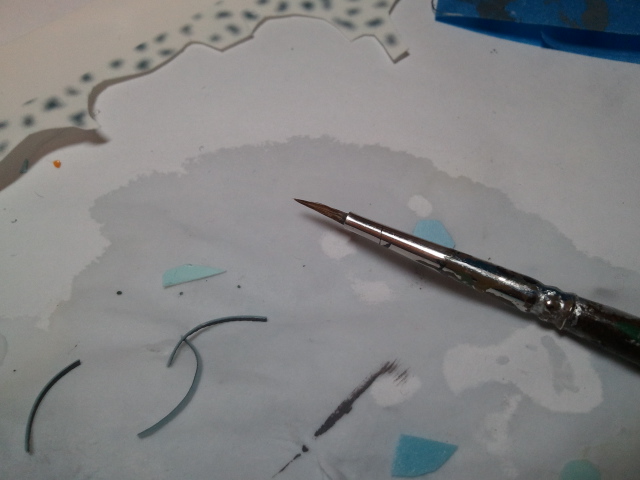
I apply the RLM 76 last, and then apply a stipple of RLM 76 along the demarcation to make it look sprayed.
Here’s the stippling brush.
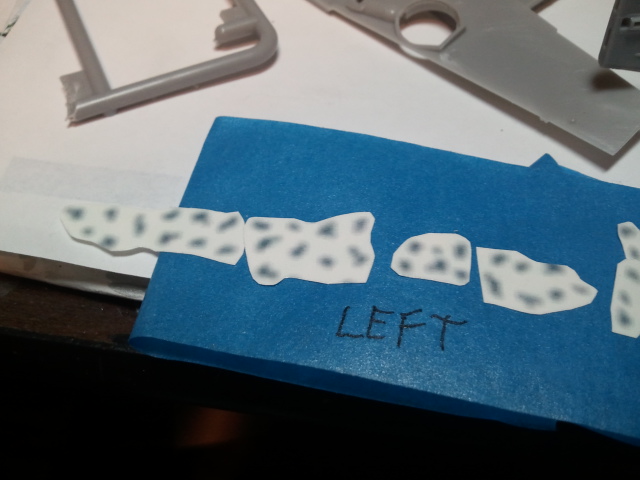
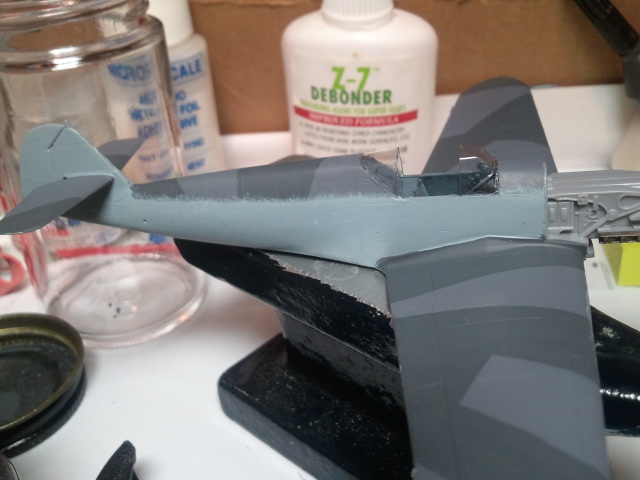
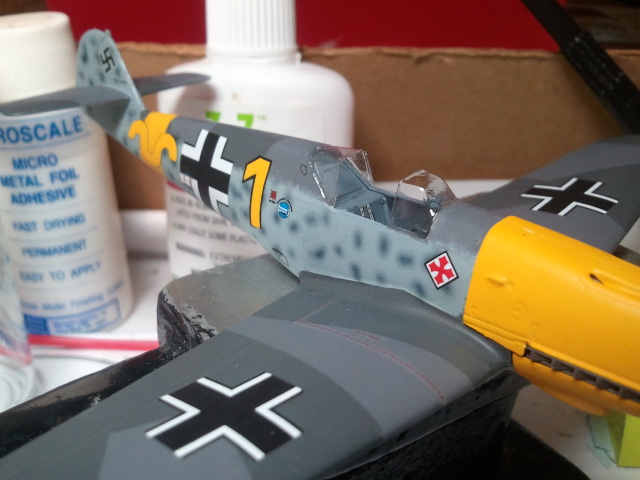
After I applied a coat or two of Future and let it dry. On go the home-made mottles. Making the mottle decals requires some skill with a program like Paintshop Pro, Photoshop or The Gimp.
Once the mottles are on and have dried, the other markings go on top of them.
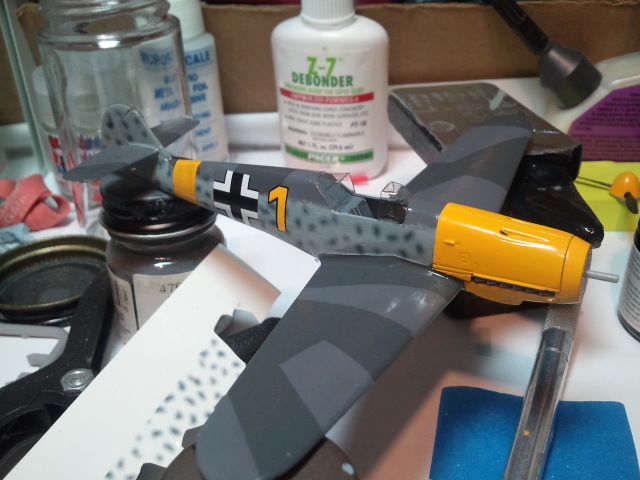
No masking.
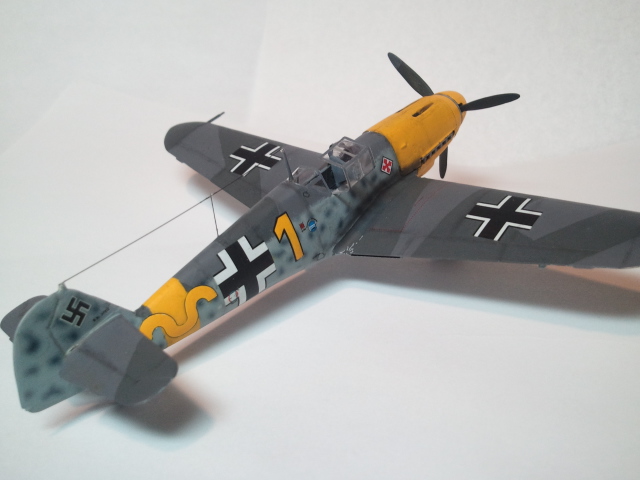
Graf’s personal markings were podged together from various sources.
Yes, my decal stash is extensive.
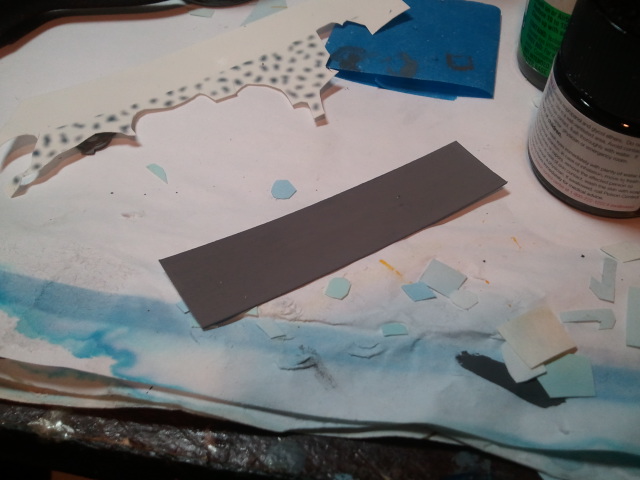
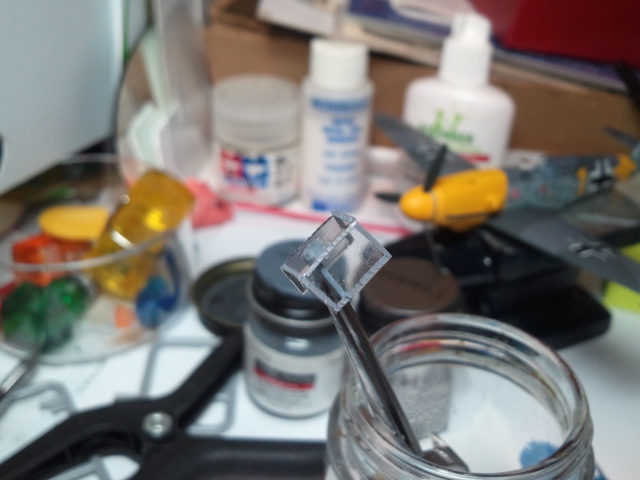
I cut out a piece of clear decal (not the printing kind–it doesn’t work that way) and painted it with the same paint as the RLM 74 on the model.
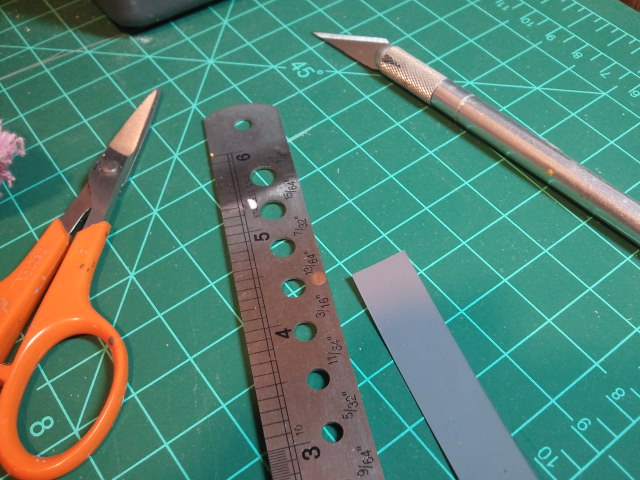
I cut out small strips of decal and use them to make the canopy frames.
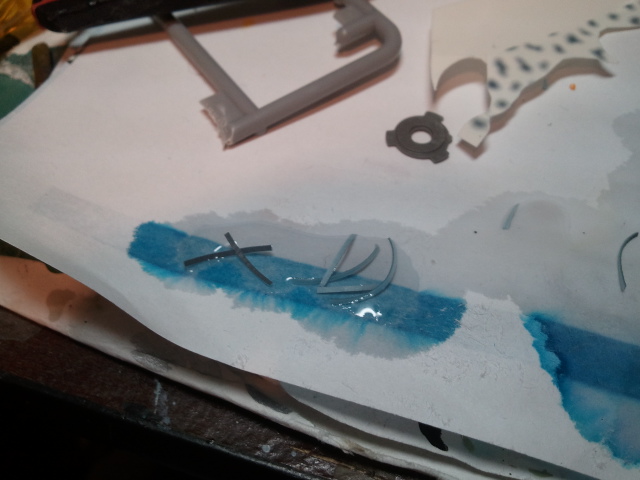
A brush is used to apply decals.
I use a steel straight-edge and an X-acto knife. The blades are from Zona. X-acto blades are garbage.
Apply the frame decals one at a time. They’ll look like hell at first. Don’t panic.
Slowly slowy catchee monkey.
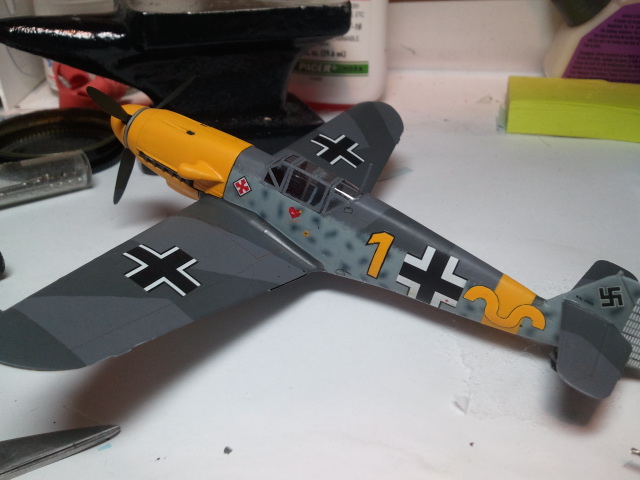
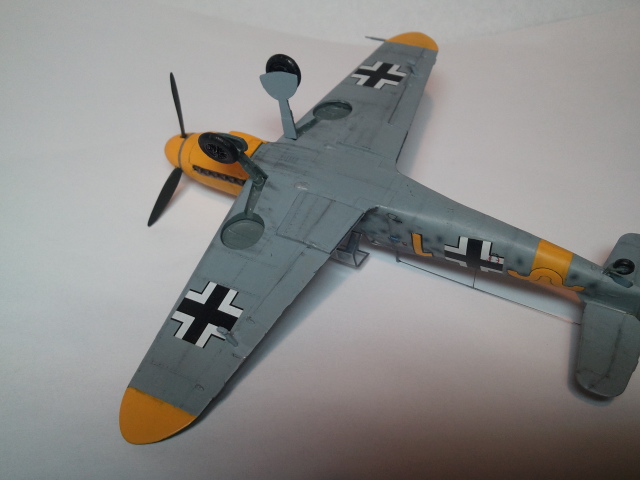
The underside.

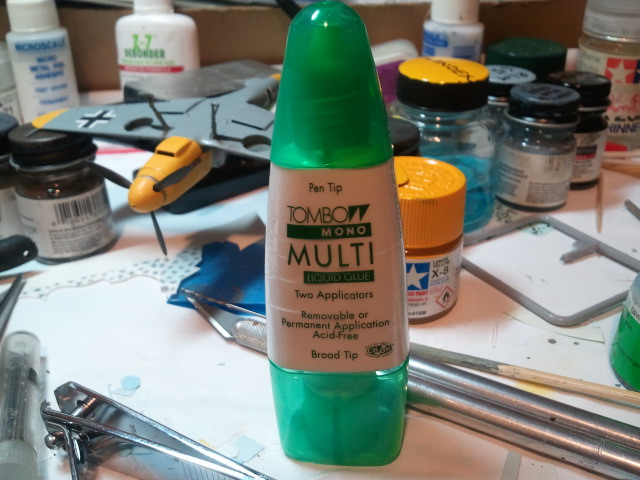
Attaching canopies is always a problem. I’ve found that Tombow Mono glue is very useful for vac-forms.
Here’s the stuff. It never “dries” but remains very sticky.
More canopy work.
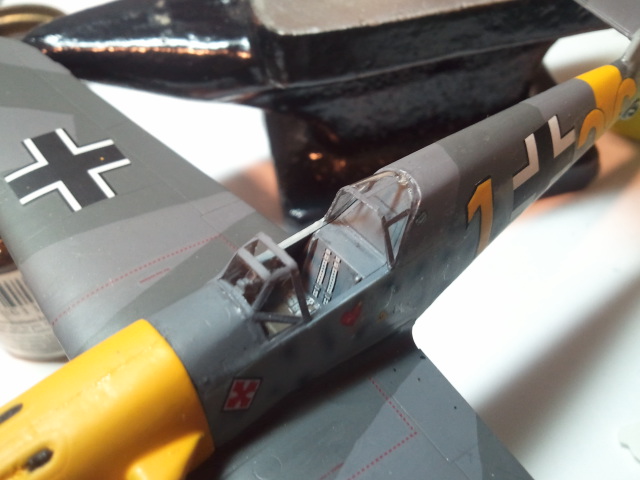
After the canopy is attached with the Tombow glue, it can be opened and closed just like one of those old Revell kits.
Fun!
It’s open.
Now it’s closing! Too much!
Open again. Will I EVER get tired of this?
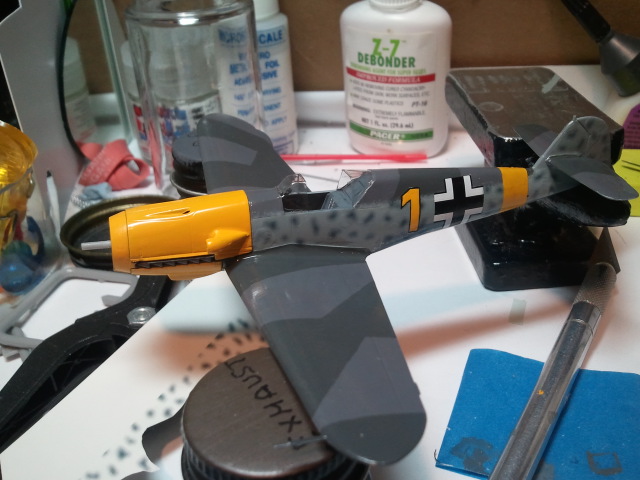
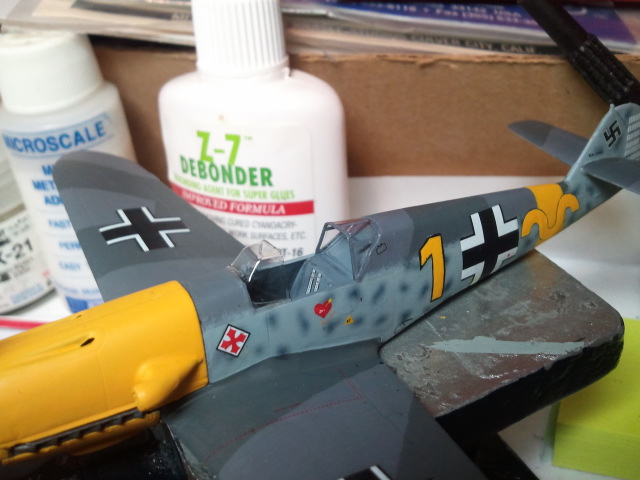
We add some post-shading and some aerials made from wire and we’re good to go.
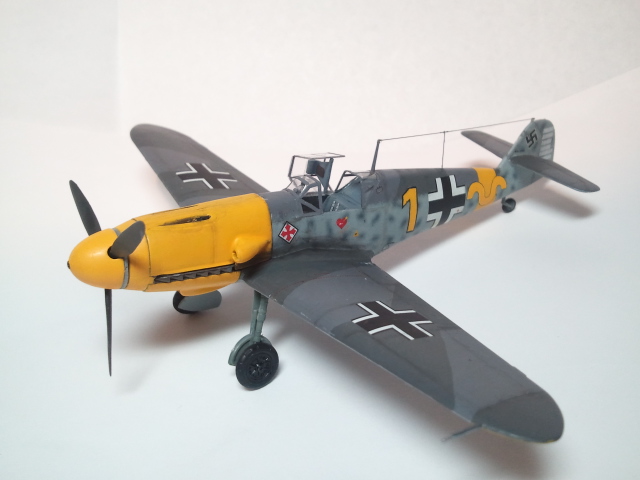
No airbrushing required.
Dangly bits.
The Tamiya gloss yellow self-levels as it cures.
Thanks for reading!
*This is a big lie. I never got paint swatches from Galland. A huge lie.
What can I say? That is a first class build there, and as usual, makes me feel inadequate….damn you.
Still, I am slowly approaching your earlier models as posted on your airfix forums account.