Gluing: Hurricane Part 1
I think I already mentioned that this is Hasegawa’s Hurricane Mk. 1 in 1/72 scale. The fit is wonderful and quite a change from the Golden Hind or the A-20 Havoc. Those kits were from the 1960’s and it showed. In fact, all the models I have built on this blog have been challenging, for one reason or another. The ship was–well it was a ship. The A-20 was old and the scheme was particularly challenging. The Hellcat had one of the most difficult schemes to paint with a brush (some would say impossible). It proved to be impossible for me–but, as they say–no guts, no glory, eh?
The P-47N was a High Planes kit bashed with a Hasegawa, and had a bare metal finish, applied with a brush. Yeah. I’m proud of it, even if I failed to read the blog post by the guy who built a similar model and warned about the “no dihedral” in the wings. Oh well–um–what was that about “guts and glory?” Sounded good…
The Hobbycraft F-86F with a brush-painted bare metal finish was the EASY kit of the group.
Whew!
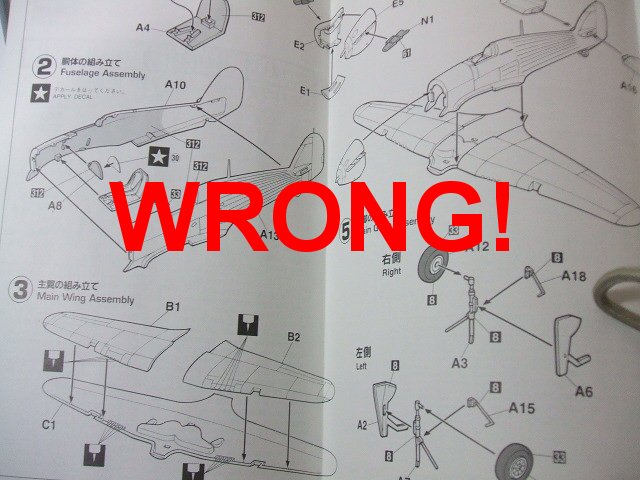
This should be a cake walk. I start this kit out with a little “pre-assembly.” It’s essential on a kit that was originally intended to have multiple version (and so have multiple parts that can be swapped out) that you DON’T follow the instructions on some things. Like the nose.
Glue the nose halves to the fuselage halves. Don’t assemble the nose and aft fuselage, then glue them together the way the instructions tell you to. The instructions are wrong. It will lead to problems.
On a good quality kit like this, with good fit, I can use Micro Weld to do the assembly. It dries slow and will allow me to adjust the parts as it sets. I use this awful Humbrol Palpo brush for gluing. It works for gluing (not painting).
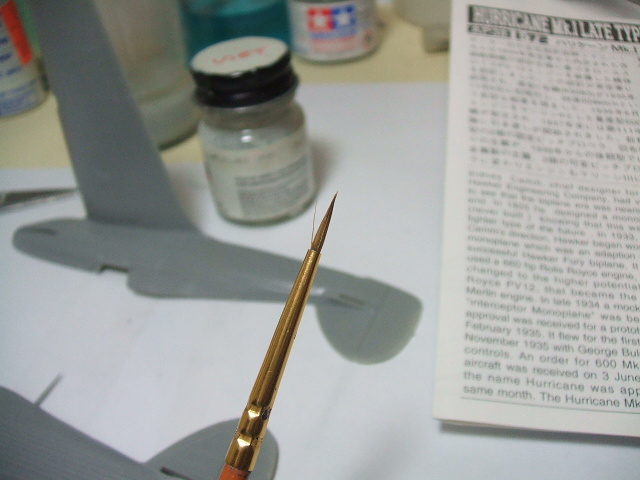
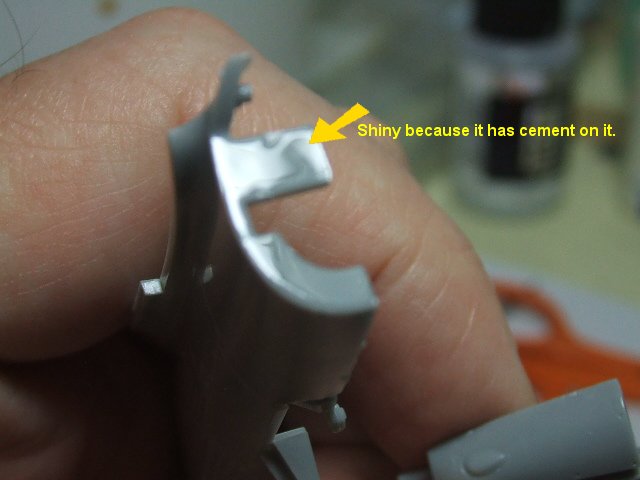
It’s about a size 2. I brush on the cement just like paint, trying to avoid having it run down the side of the fuselage, BUT IF IT DOES do NOT attempt to wipe it off. Just let it evaporate over a few hours. It will be fine unless you try to fix it.
Here’s a first coat of cement on the mating surface of the fuselage. Apply two coats to both surfaces and give it a minute or so to dissolve the plastic.
Once you have the noses glued on (you really ought to let them set up a little before moving on) you attach the wing tops.
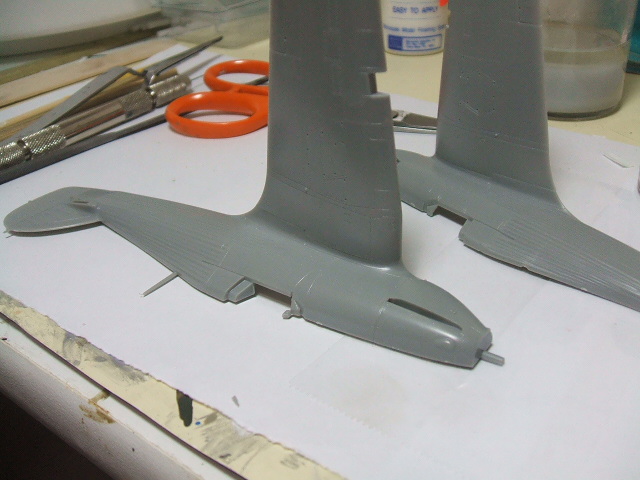
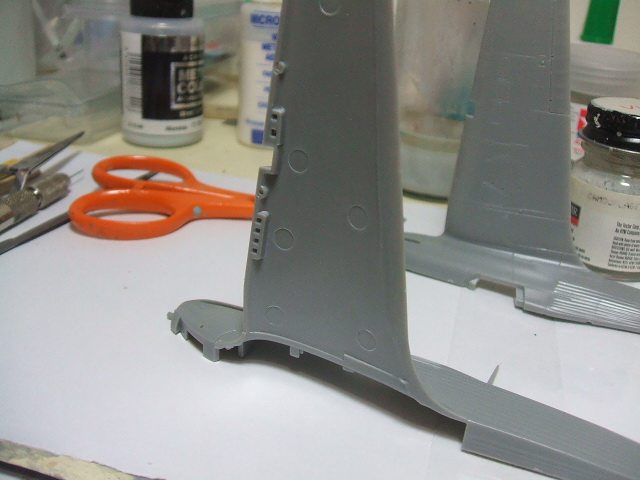
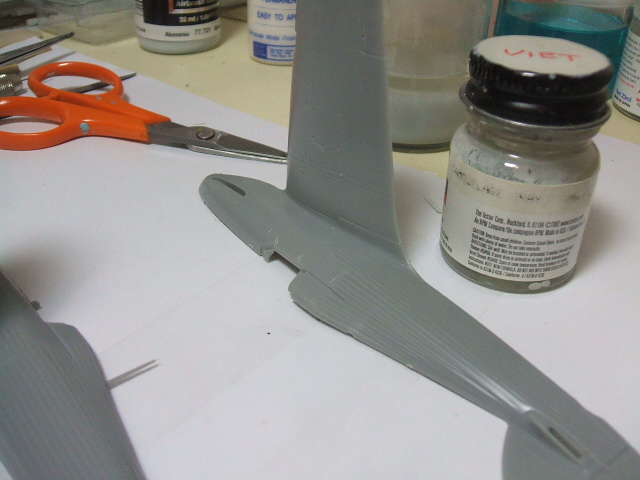
You can do micro-adjustments over the next hour or so as it sets. You can get it to line up perfectly with some care and avoid all filling.