Pointy Bits: P-47N Part 14
This model, derived from three different kits and having a natural metal finish, would be considered difficult to build and impossible to paint with a brush by most model builders. That’s why I chose to build it as my first blog demo build.
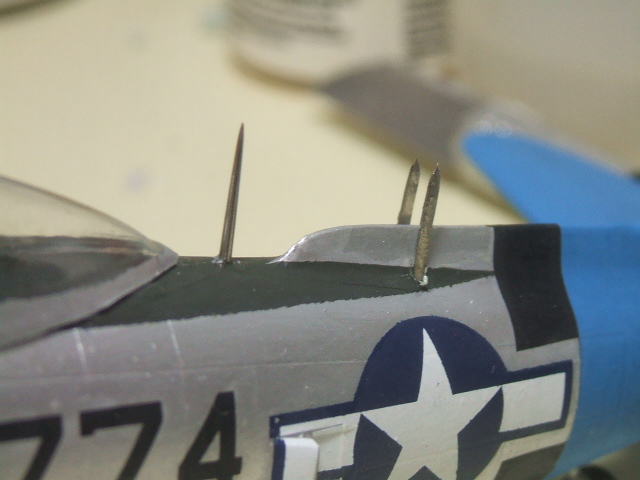
This build is supposed to demonstrate the many way I use inventive solutions to get around “impossible” problems. For example, the three antennae that stick from the back of the model could be made from stretched sprue or wire, but I decided to use two ordinary pins for the aft antennae and one needle for the front antenna. The pins were laid on a small anvil and hit with a hammer to flatten them into the right shape. The needle was just fine as it was.
I drilled holes and used super glue to attach them. This way, any birdbrain who picks up the model will be stabbed. They’ll pick up the model, the pin or needle will go into their skin, they’ll let out a small cry of pain and then I’ll stab them.
Most of my humor is of this type. Get used to it.
Metal is a problem when it comes to painting. You’ll need some kind of “primer” to get the paint to stick to the metal. I use this stuff.
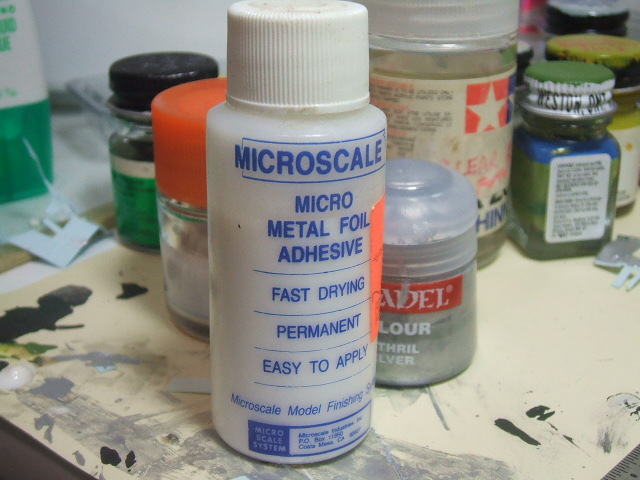
It’s metal adhesive, isn’t it? So doesn’t it follow that it would stick paint to metal? Of course it does. I’ve done it for years with no ill effects. You brush it on, let it dry for a bit, then paint. What amazes me is that some folks resist the idea that anything not labeled as “Hobbymaster Metal Primer” could work. What amazes me is that anything named “Hobbymaster Metal Primer” WOULD work. Such is the root of the mis-communication. Some folks just insist that “THEY” know better. Not me. “THEY” are dummies. I know what I’m doing. This is a healthy attitude during something like a zombie apocalypse or other catastrophe. Self reliance.
So if you find yourself lost and homeless wandering the wasteland after the nuclear holocaust, avoiding bands of marauding scavengers, just remember to mention The Brushpainter and I’ll let you join my band of marauding scavengers. Seriously.
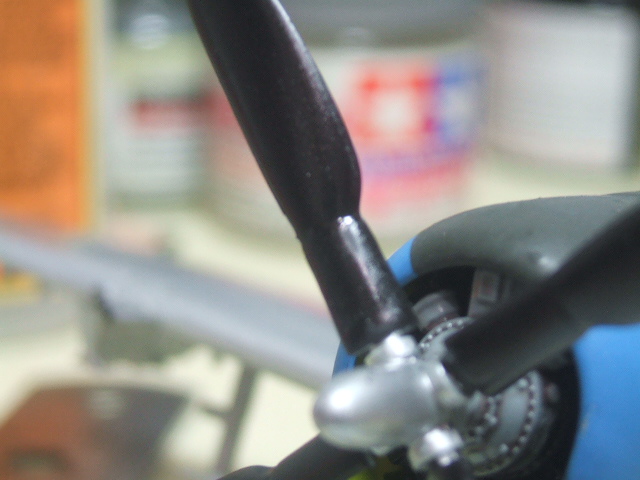
The propeller needed to be glossed up in order to apply those tiny decals that say something like “made by the Acme Propeller Company, all rights reserved. If found, drop in the nearest mail box.”
The canopy was cut into parts using SCISSORS. Scissors work well for cutting vac-formed canopies. I use a fine set made by Fiskars. They make a variety of excellent scissors and they’re sold just about everywhere. Michael’s Craft Store sells them.
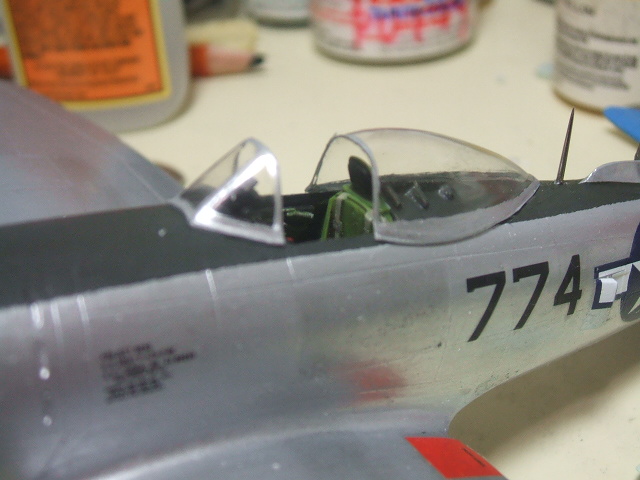
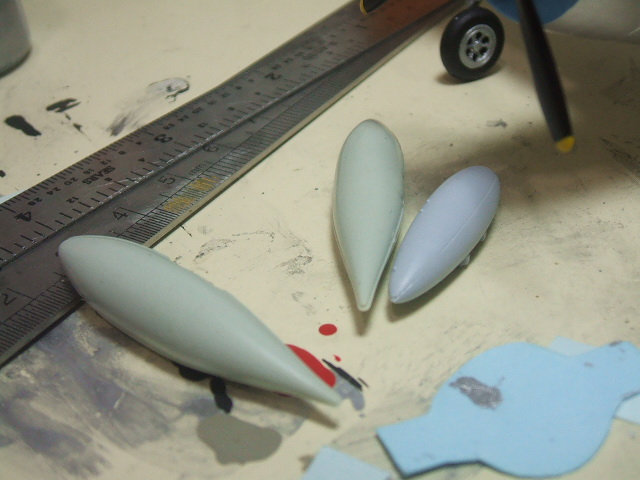
Finally, I put a coat of olive drab on the antennae. In this next shot you can see the two drop tanks from the Revell P-47M and one drop tank from the Airfix P-51D. I’ll fix these to the workbench using double-sided tape, with the “up” side up. Then I’ll paint the up side with Metal Color. Then I’ll attach them to the model. Then I’ll paint the underside as they hang on the model. This avoids all difficulty in painting these tanks. At some point I may even attach the gear doors.