Planning Stage: P-51B Part 5
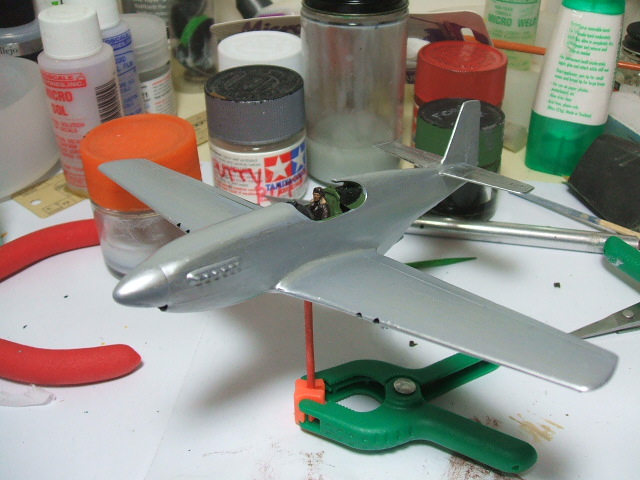
I’ve given the model two coats of Vellejo Metal Color (Aluminum). I’m still learning to apply this material with a brush, and because I’m basically inventing all this stuff from scratch, progress can be at what I’d call “a stately pace.”

It just amazing stuff. Every time I use it I’m tempted to give up painting models in any other way. Just switch over to 100% bare metal all the time.
Great day in the mornin’!
I never thought I would see this in my lifetime–but then again, why not? It’s paint on metal with no down-side. If there’s a down-side, I can’t find it. I’ve always thought “too good to be true=fasle.” Not this time.
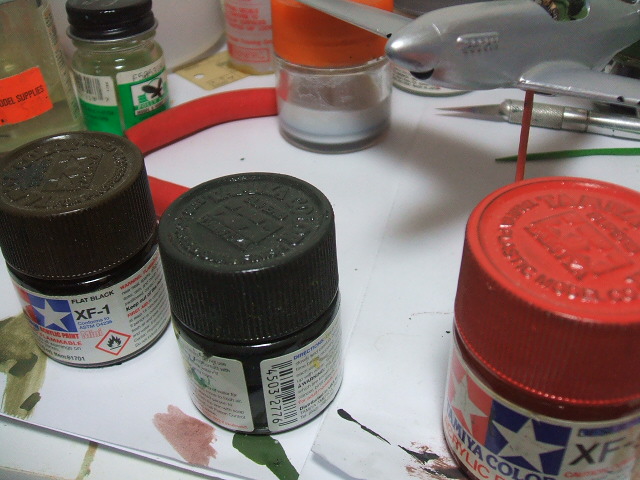
I have some “custom” mixes of Tamiya gloss colors.

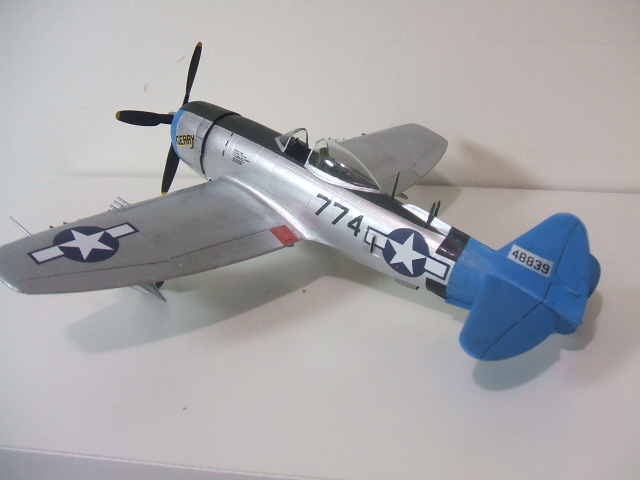
The red is a “vivid” red–not “insignia red.” It was surprisingly difficult to mix. The color in the middle is my match of what looked like a very, very dark olive drab, used in late-war U.S. anti-glare panels. It’s so dark it was thought to be black at one time. The color experts will howl but there are PLENTY of color photos that show this color. It’s the same shade I used for the anti-glare panel on the P-47N.

I’m seriously considering using this color for the anti-glare panel, then painting the upper wings, aft fuselage spine and horizontal stabs with a more “brown” olive drab (the color on the left). I’ll paint all of the “upper surface” stripes on the empennage in the vivid red.
The invasion stripe will be painted “free hand.” I’ll be using a Revell No. 2 brush and Tamiya gloss acrylic black and white to get a smooth finish without brush marks. I’m pretty sure that to be able to do this properly I’ll need to paint the stripes first and then the olive drab color after–using decal strips to outline and demarcate the olive drab.
You CAN paint over the Metal Color using flat paints (I can hardly believe it but it’s true). But the Tamiya gloss paints just provide a much smoother finish for brush application when painting straight lines.