More on Model Air
I added another “half dropper” of Windex to the Vallejo Model Air and I’m happy to report that the paint works better and is actually more “usable” with the additional thinning. I’d hesitate to add more Windex because you run into diminishing returns (in plain language the paint becomes too thin).
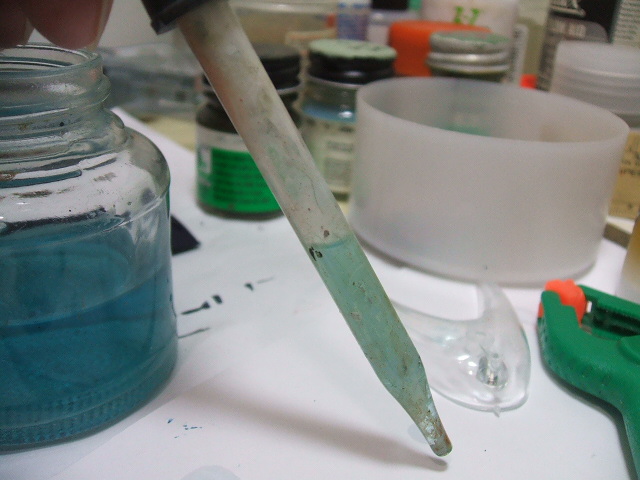
Here’s what I’m calling a “half dropper.” I do believe that there may be an “official” eye dropper measurement scale, but I don’t know what it is.

Perhaps someone who knows how the scale works can enlighten me. For right now, this is the amount I added to the full bottle of Vallejo Model Air, times three. I added three “half droppers” of Windex to the paint.
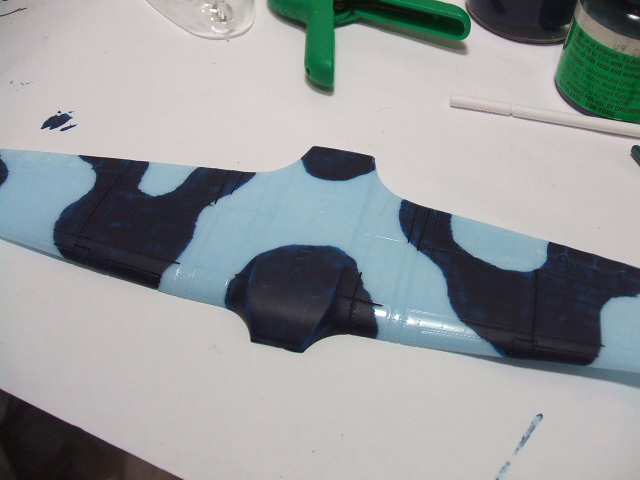
The result was a paint that was thin enough to draw lines and was self-leveling. It gave this result after one coat.

This is a GOOD result. It should take three coats of paint to cover light blue plastic with a very dark blue paint. This is NORMAL. One coat coverage is BAD. Paint that is designed to do that is BAD. The only way to ensure one coat coverage is to make the paint so thick and sticky that it sets brush marks in stone. This “quality” is usually combined with a “super fast drying time” to create a hobby paint for children. Adult paint required several coats. This is a trade-off for the ability to have a smooth finish and to be able to draw fine lines with a brush.
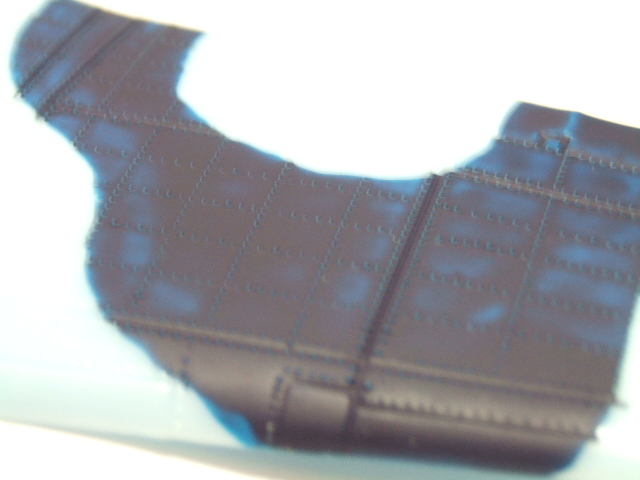
Here is an example of the kind of lines that can be drawn with the Vallejo Model Air when it has been properly thinned with Windex.

This is an old, old Revell Hurricane in 1/72 scale. The surface details are huge. Giant rivets and giant, trench-like panel lines. The paint did not flow down those lines too badly. One of the reasons that I paint one color in a pattern, to the pattern, and then the other color to the pattern (not overpainting the colors) is to avoid this “panel line running” effect. “Butting” the colors against each other stops them from running along panel lines or control surface lines.
Unfortunately, the reason that I do things a certain way is just not obvious all the time. When you paint with a brush, the “runaway” paint that flows along a panel line is a problem. You can help to avoid that by using a sequence of painting steps like this:
First, paint on the camouflage pattern in one color. On bare plastic. Yes, I meant that. Let it dry.
Second, paint the second color of the pattern, on bare plastic, so that the two colors do not overlap except for a tiny bit on the edges.
Do this two more times to get three coats.
I spent a lot of time explaining this over at the forum and I don’t think they ever, really, believed me. Something about painting the ENTIRE surface one color, then applying the second color on top of the first, in a pattern, is so habitual that they just could not accept that my method is superior.
Well. It’s superior.
Go about your business.
Well….Yes. One coat coverage is quite often bad. However, there are two caveats;
1) The dark side, Enamels, used to be able to do this. Todays enamels which are.. friendlier? can not do this. They require thinned coats of 2 plus to keep things perfect, but old enamel paint could do this easily with most colours, and have no brush marks. How this was the case? I don’t know, and even when I have asked multiple manufacturers of Oil Enamel paint, I only receive stony silence. Strange no?
2) Revell Aqua Color. While not all colours manage this, some are simply brilliant and it is, indeed, covered in one thin coat? How do they do it? I have no idea. German magic? Unholy experiments? You decide.
You are correct sir. I forgot about Aqua Color. It is that fine German engineering. I wish they sold the stuff over here. Oh well.
I have found some British model shops that sell it for a good price, with reasonable postage. It wont be an impulse buy, but at least I can now keep a fair stock on hand and top it up en mass when needed.