Sloppin’ it On: P-47N Part 6
Actually building a model (as opposed to discussing it) is an exercise in cruel reality. You have to walk that lonesome valley all alone. Sometimes it’s fun, but mostly it’s a grind. Like everything else.
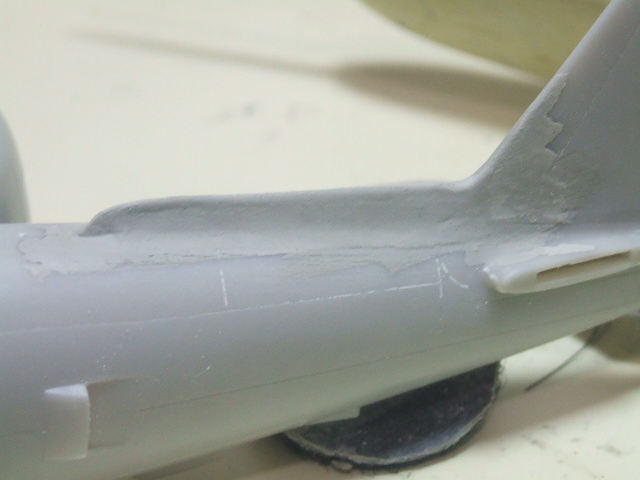
On the High Planes kit, the tail strake is cut up into two halves, each half being part of a fuselage half. So I cut one of these out of one of the High Planes halves. Then I filed and sanded it to the right shape. Then I attached it with some liquid cement. Then I used Vallejo putty to blend it in. Sort of.
I didn’t do a pictorial history of this event– meaning that I’m a bad blogger. So you just have to imagine it. The result was a bit flakey. So I mixed the acrylic putty with acrylic paint (gull gray) and brushed it on to smooth things out. This worked, more or less. The key thing here is not to get hung up on it. If I got hung up and perfectionistic about every little detail it would take me years to complete a model.
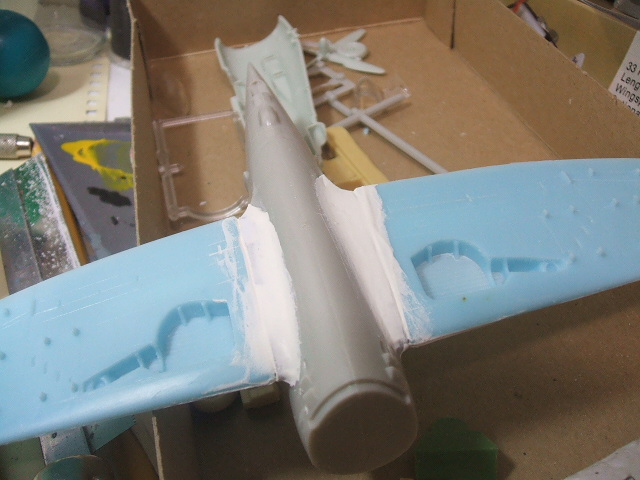
The wings from the High Planes kit do not fit easily to the Hasegawa fuselage.
The wing root area on the Hasegawa kit had to be carved down (with an X-Acto knife) and then sanded to shape. The “remnants” of the gear wells (you’ll know what I’m talking about when you build your kit LOL) were filled with sheet plastic. The important thing, though, is to make the tops of the wings look good. I’m not worried about the belly of the aircraft all that much.
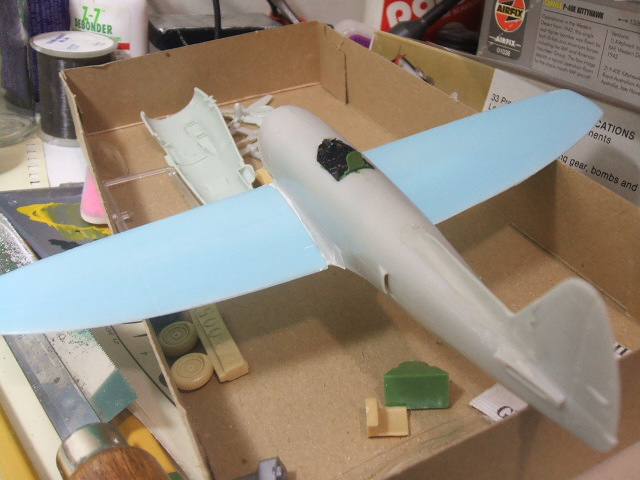
Not too bad. Still needs some work though. While everything looks like H E double hockey sticks I’ll just look at the cockpit, which turned out OK, I think.
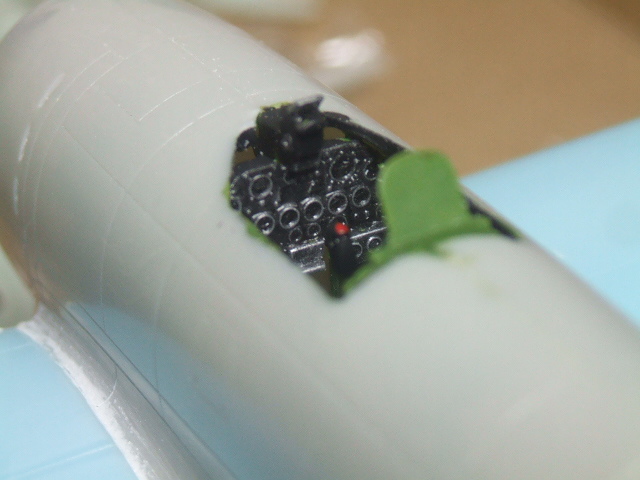
Focus on the cockpit. Don’t look at those wing roots. Just look at the cockpit and repeat your mantra… Ommmmmmm.