Upgrade in Place Part 2
This Spitfire model was built at a time when I was still building primarily for myself. My internet addiction had not yet developed into full-blown blogging, so my efforts were “good enough” for me, and the rest of the world be damned.
I don’t really remember what I was doing, even though I documented it at the Airfix Tribute Forum, I don’t recall how and why I decided not to install the prop so it would spin. Like a World War II airplane mechanic slapping on a coat of paint, my mind wasn’t working like a present day model builder and I’d have a hard time explaining myself to myself, let alone to the world.
Let’s just say I did things in a “fast and loose” manner.
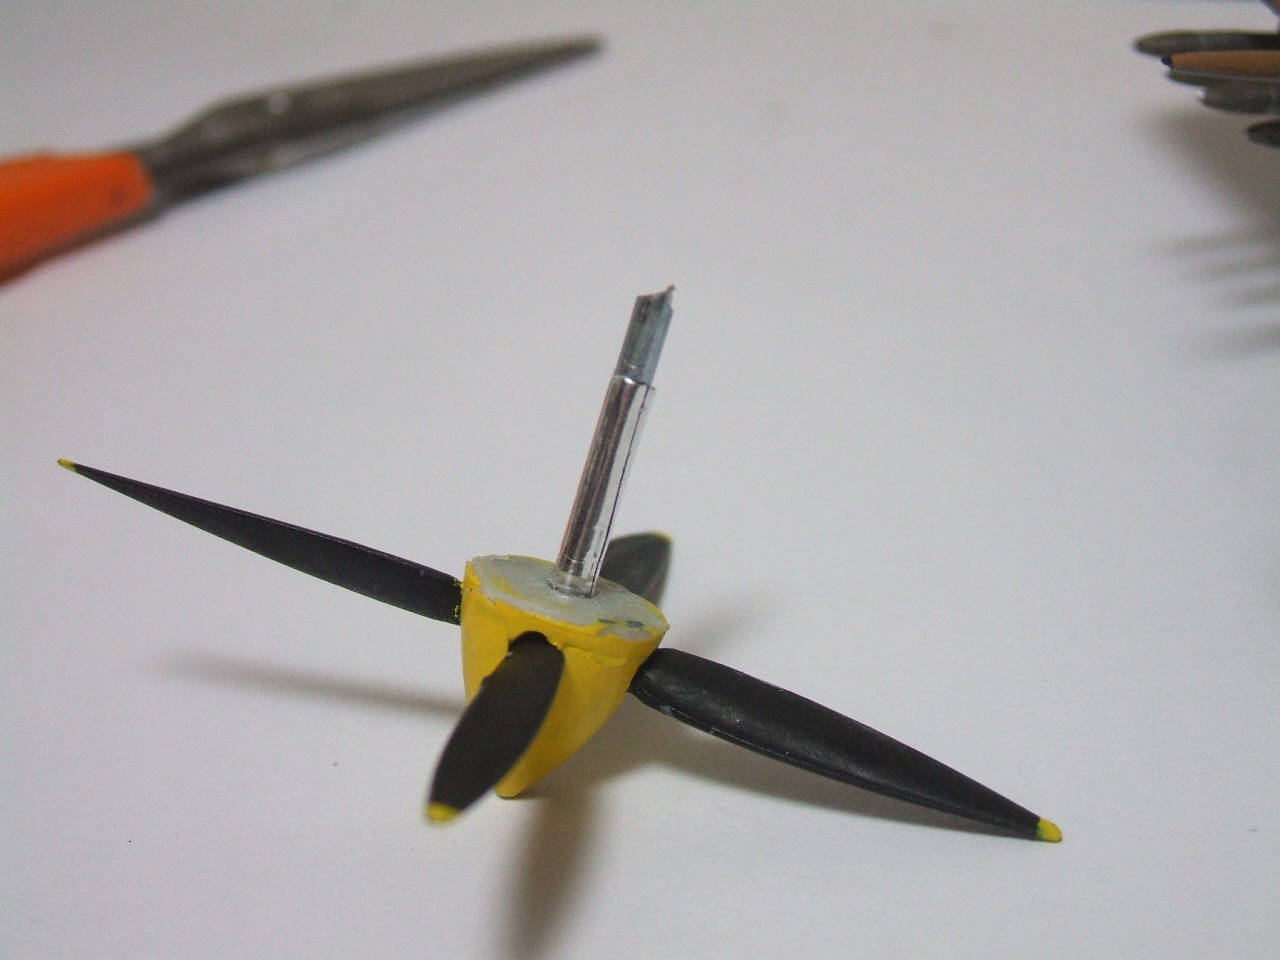
In trying to “correct” the flaws of this model I removed the prop and drilled out the prop and the fuselage. Then I inserted a length of an ordinary nail (with the ends clipped off) to act as a “propeller shaft.”
But the fit was a bit loose, so wrapped some air-conditioning aluminum duct tape around the shaft to make the fit tighter.
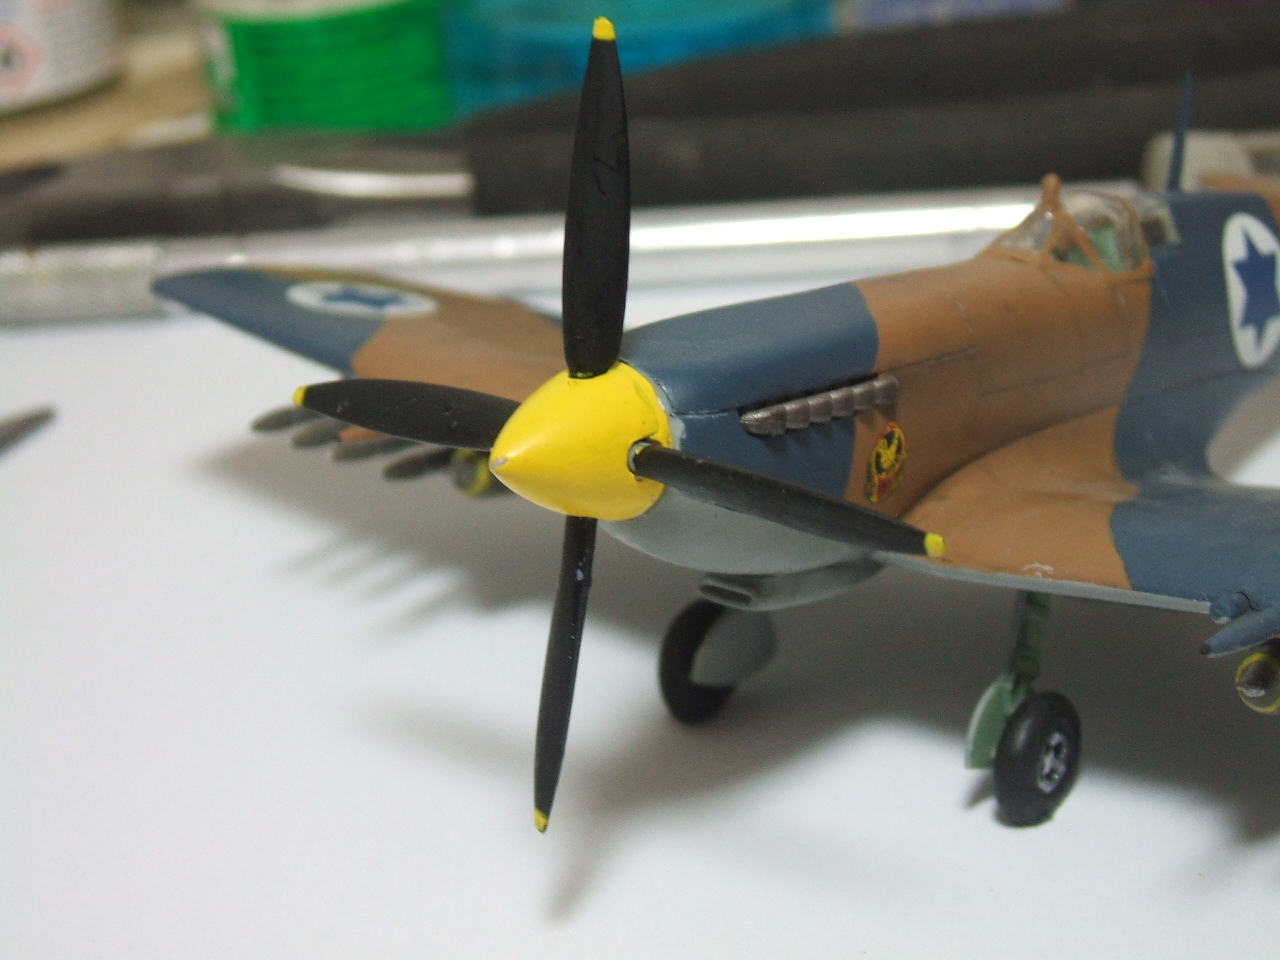
Once I pushed the prop back onto the model and turned the prop to the correct “cross” position, I couldn’t help but notice the…well…
…ummm…
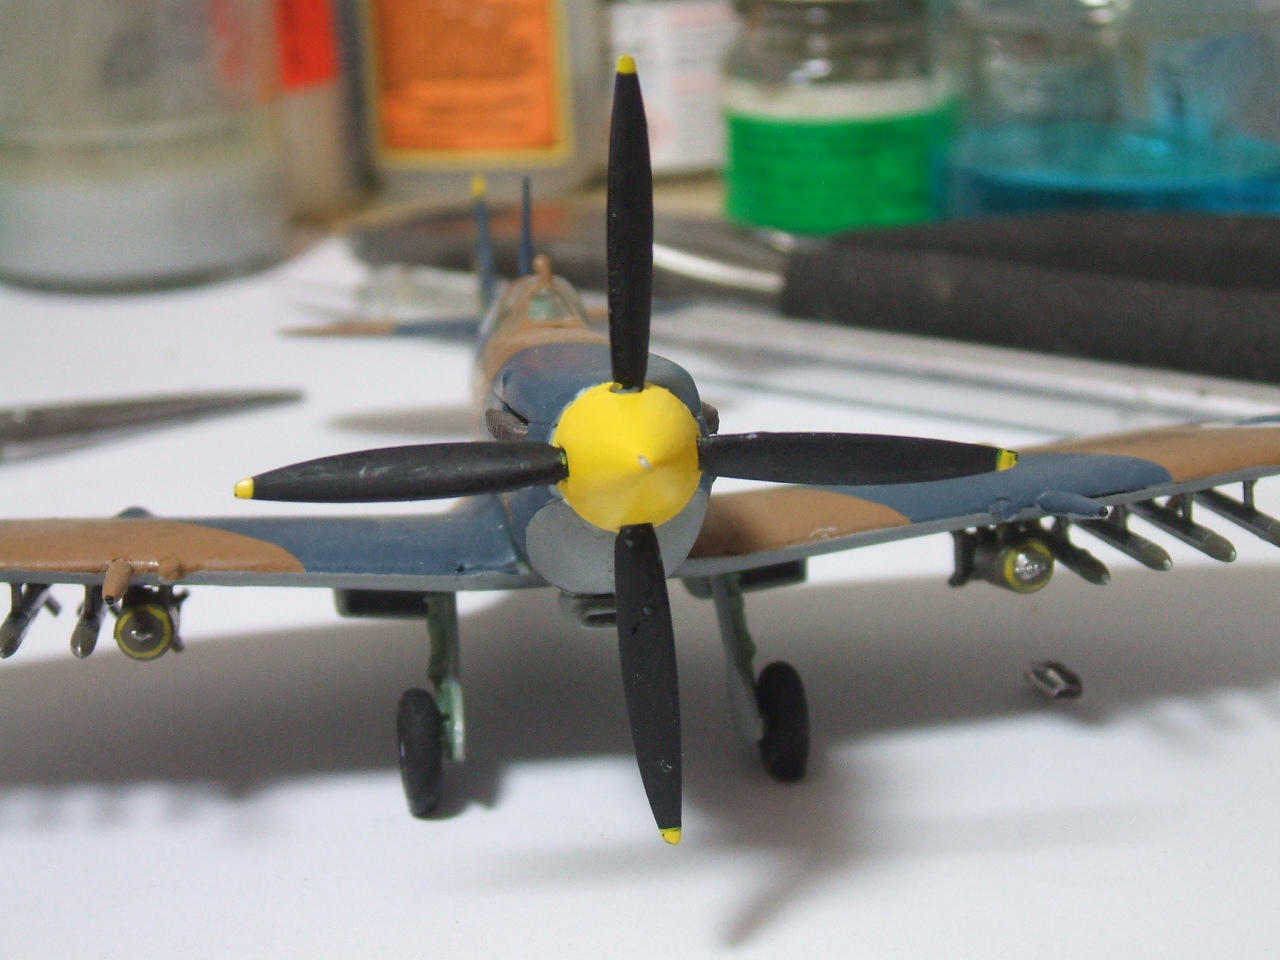
Crooked-ness.
This is the reason I orginally glued the prop on in the mechanic killing “X” configuration.
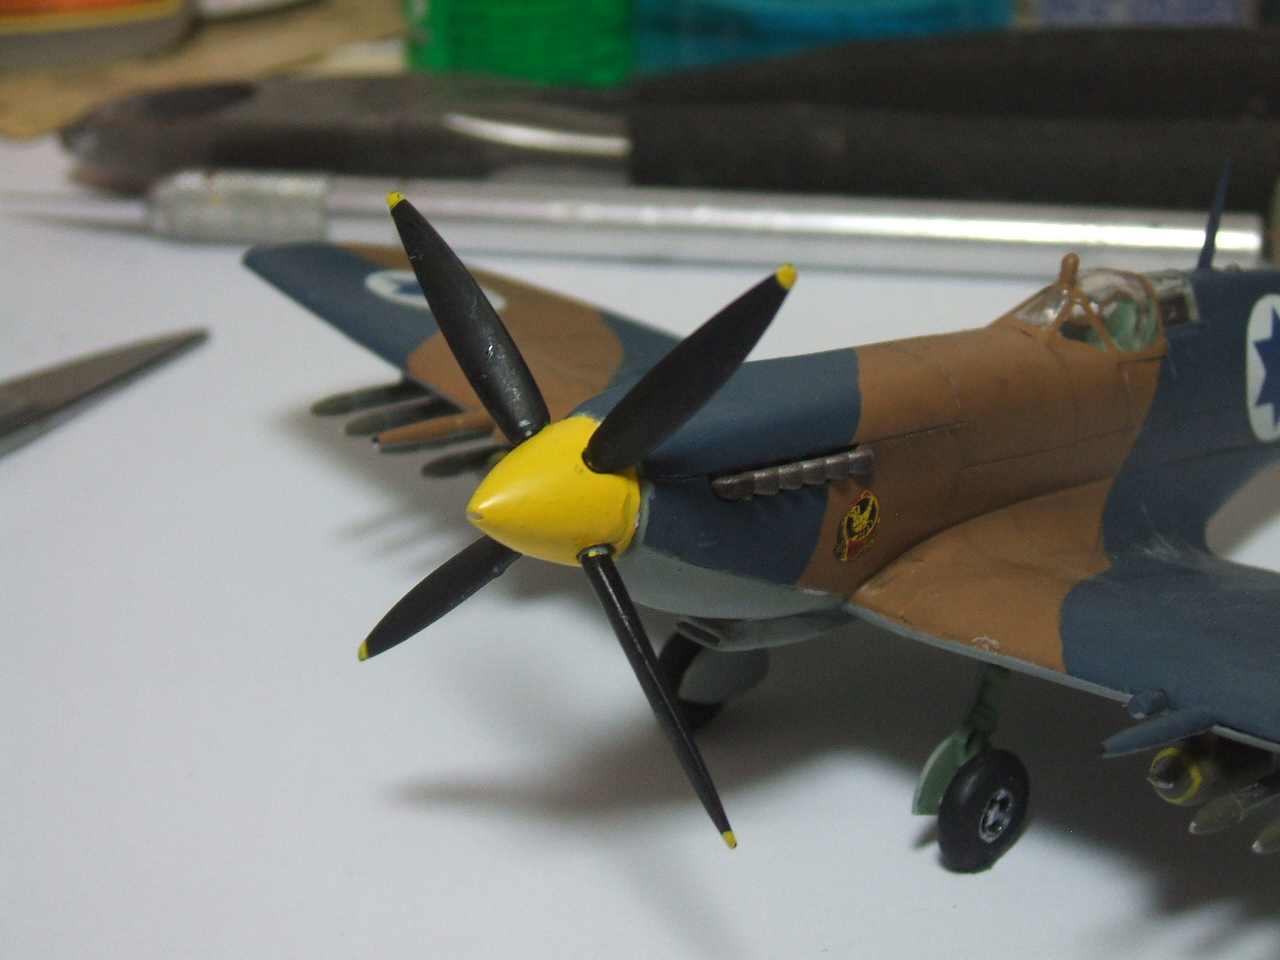
It was my lazy way of dealing with my poor assembly of the prop…I think.
Oh well. It’s a good thing we can’t return to the past of relive it. We’d quickly see our most venal motives and suddenly have sympathy for those we considered adversaries. Oh yeah. Now I gotta check “philosophy” on the easy look up chart…
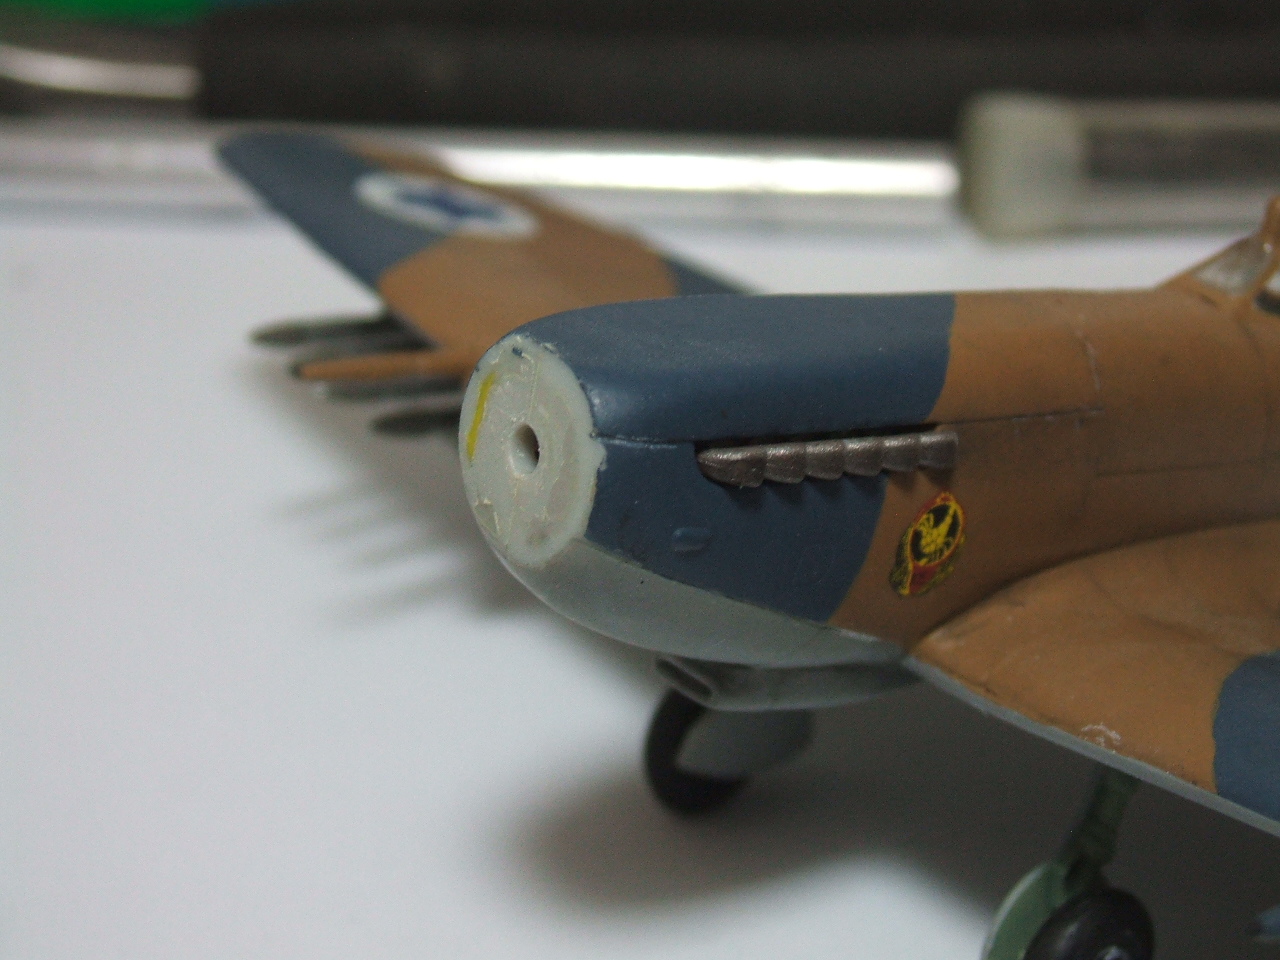
The close-up function of the digital camera is an unforgiving mistress! 😀
Its usually at that time that I spot the survivors of knife and brush work.